Lets Start
There are two steps:
- Access your Ghost instance
- Enable Firewalls
Access your Ghost instance
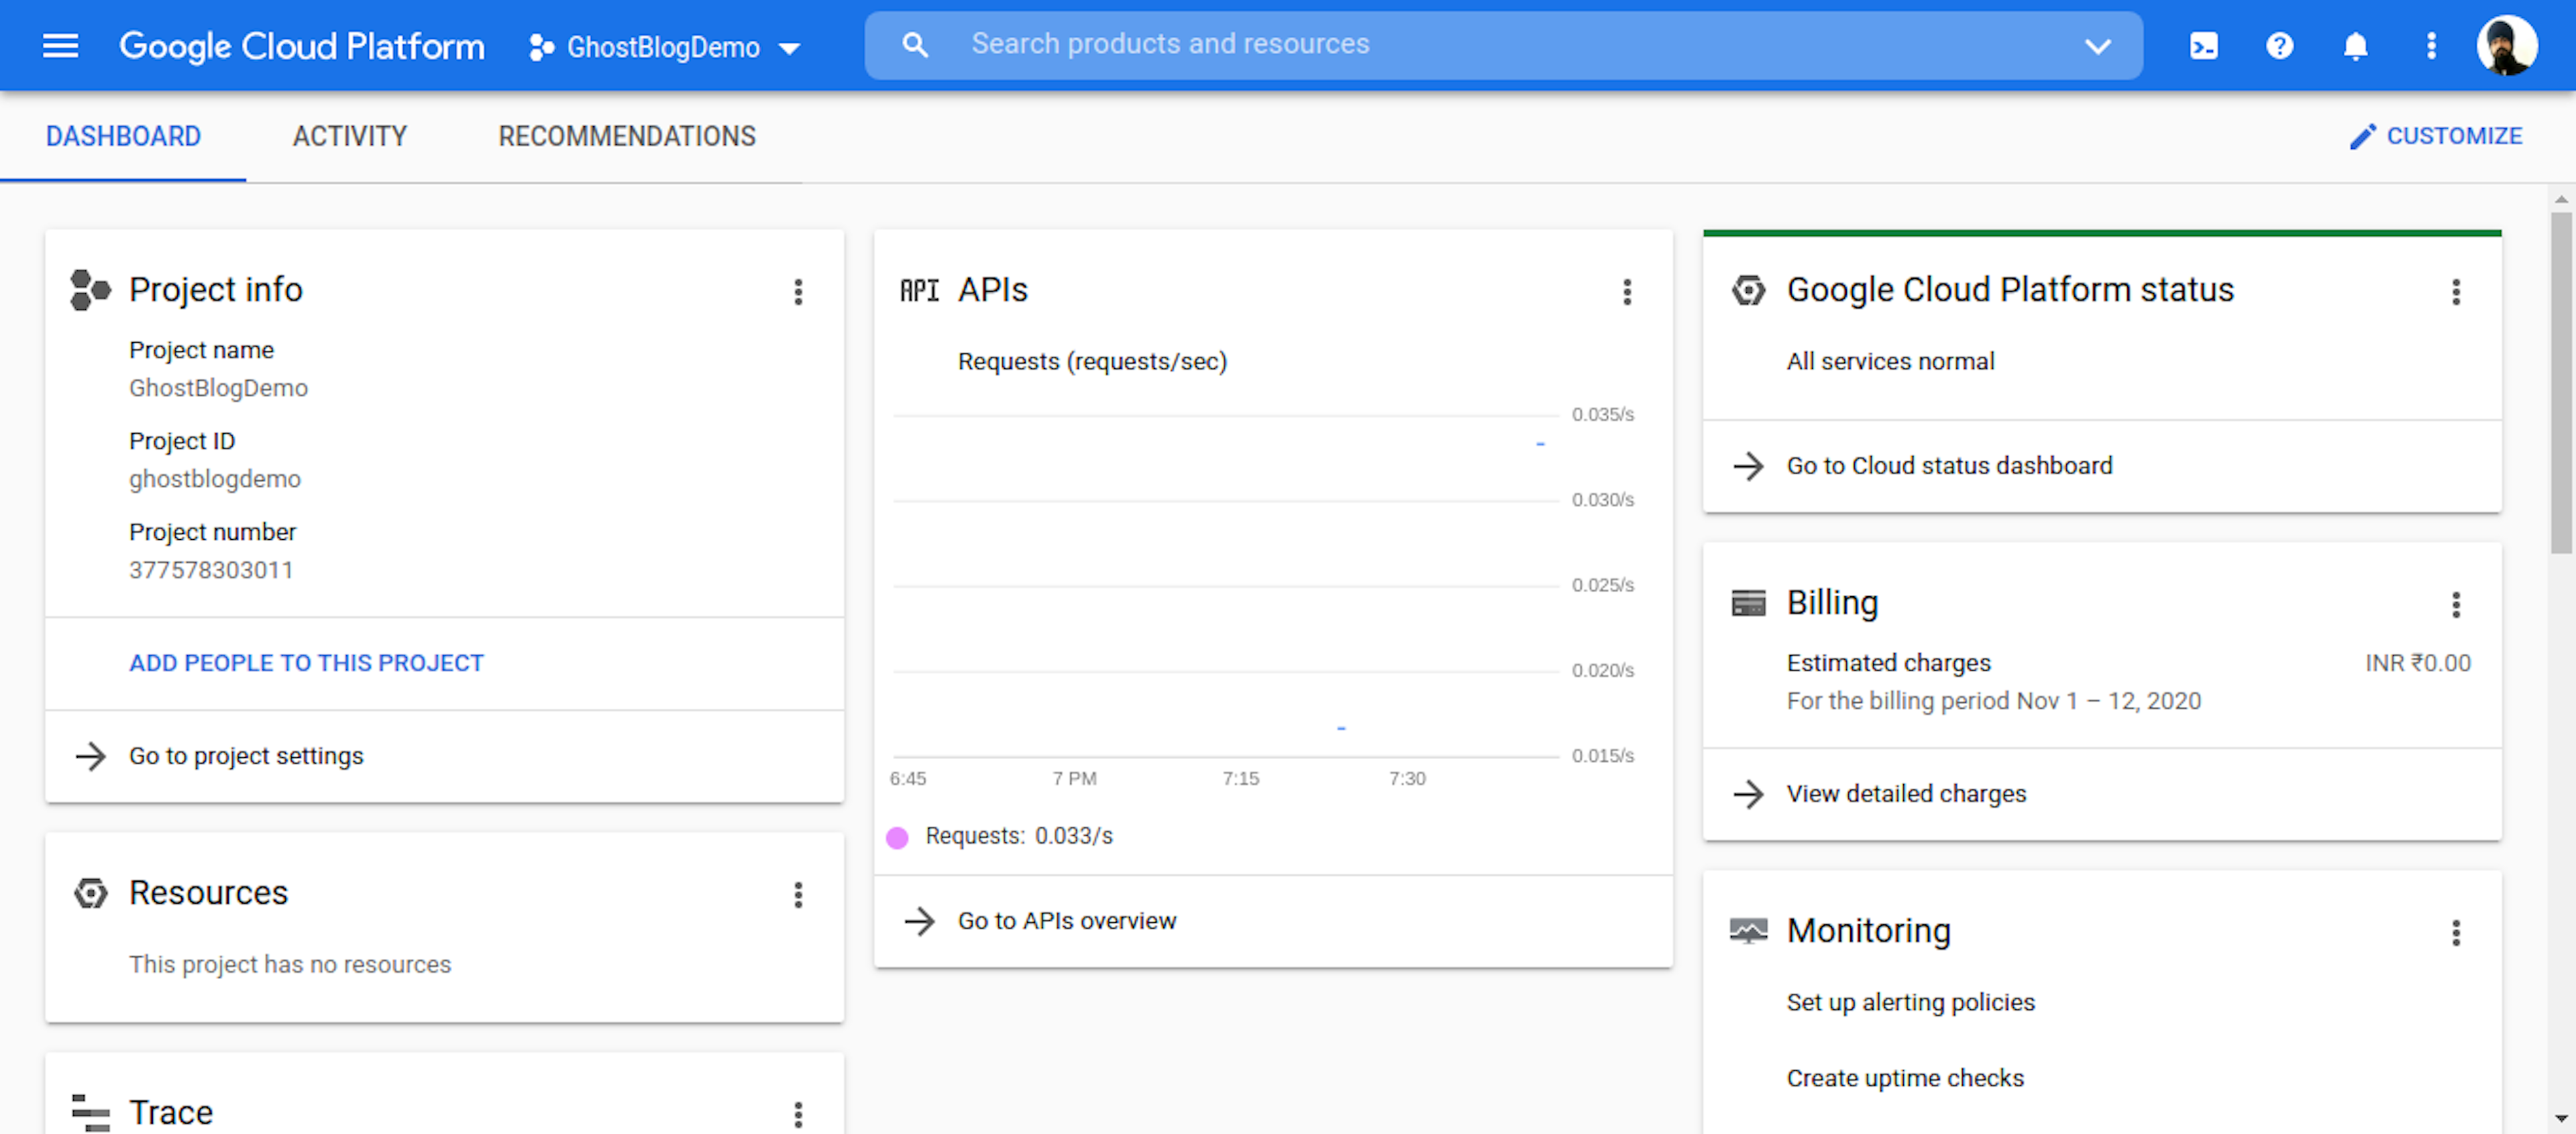
- Open Your Google Console Dashboard.
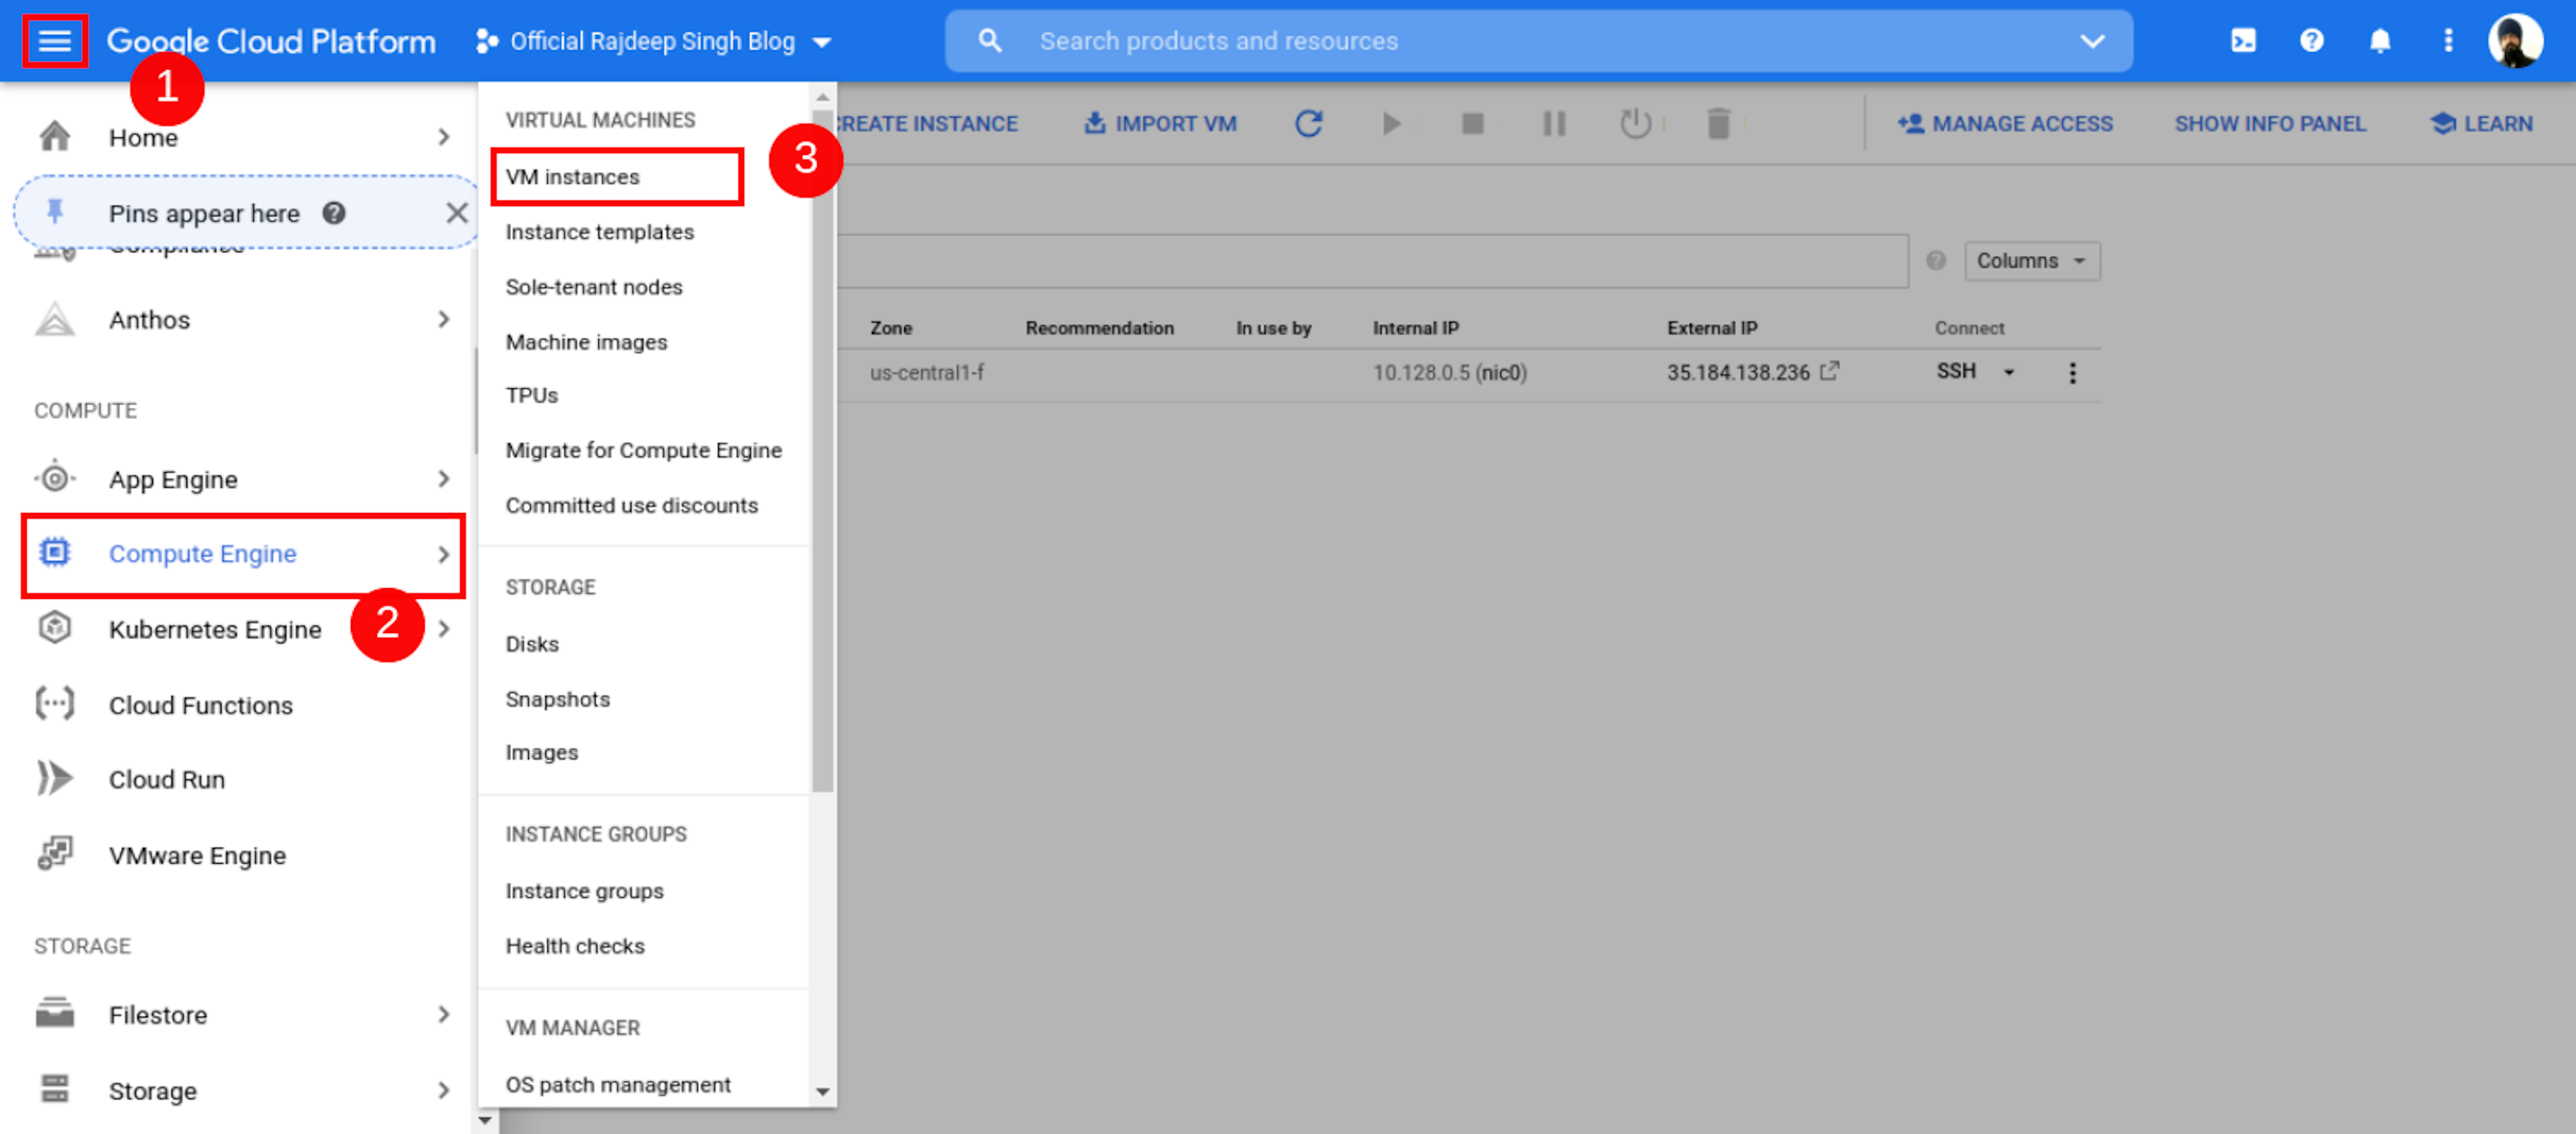
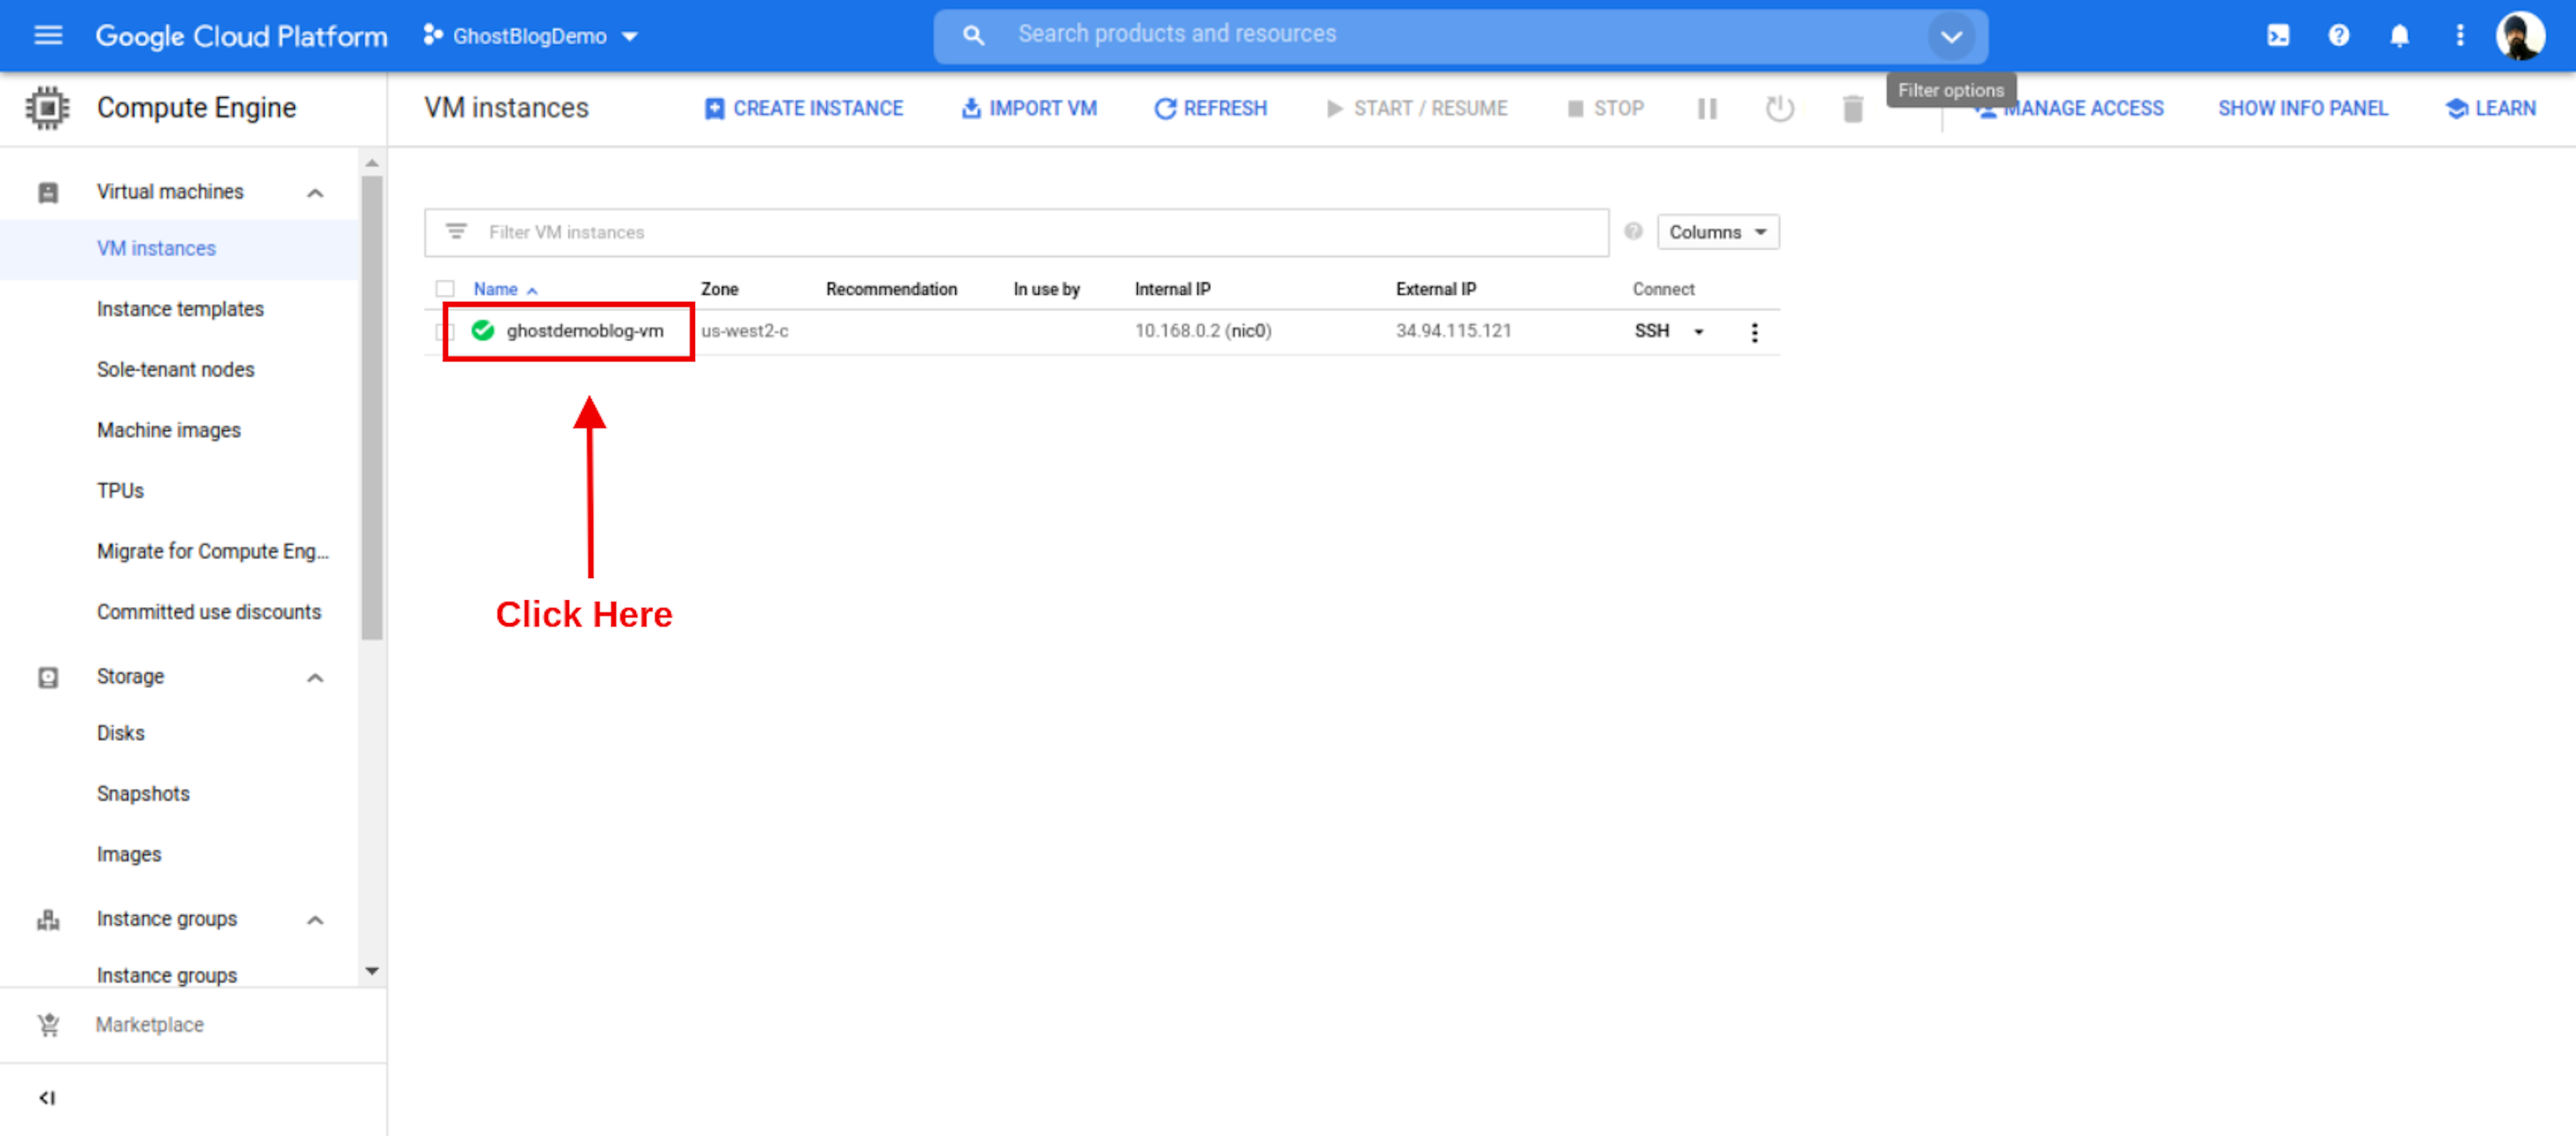
- Open Your Google Console Dashboard Then Click Top Left Conner humber icon. Click Compute Engine, Select VM Instance, Then Your VM Instance Page Open.
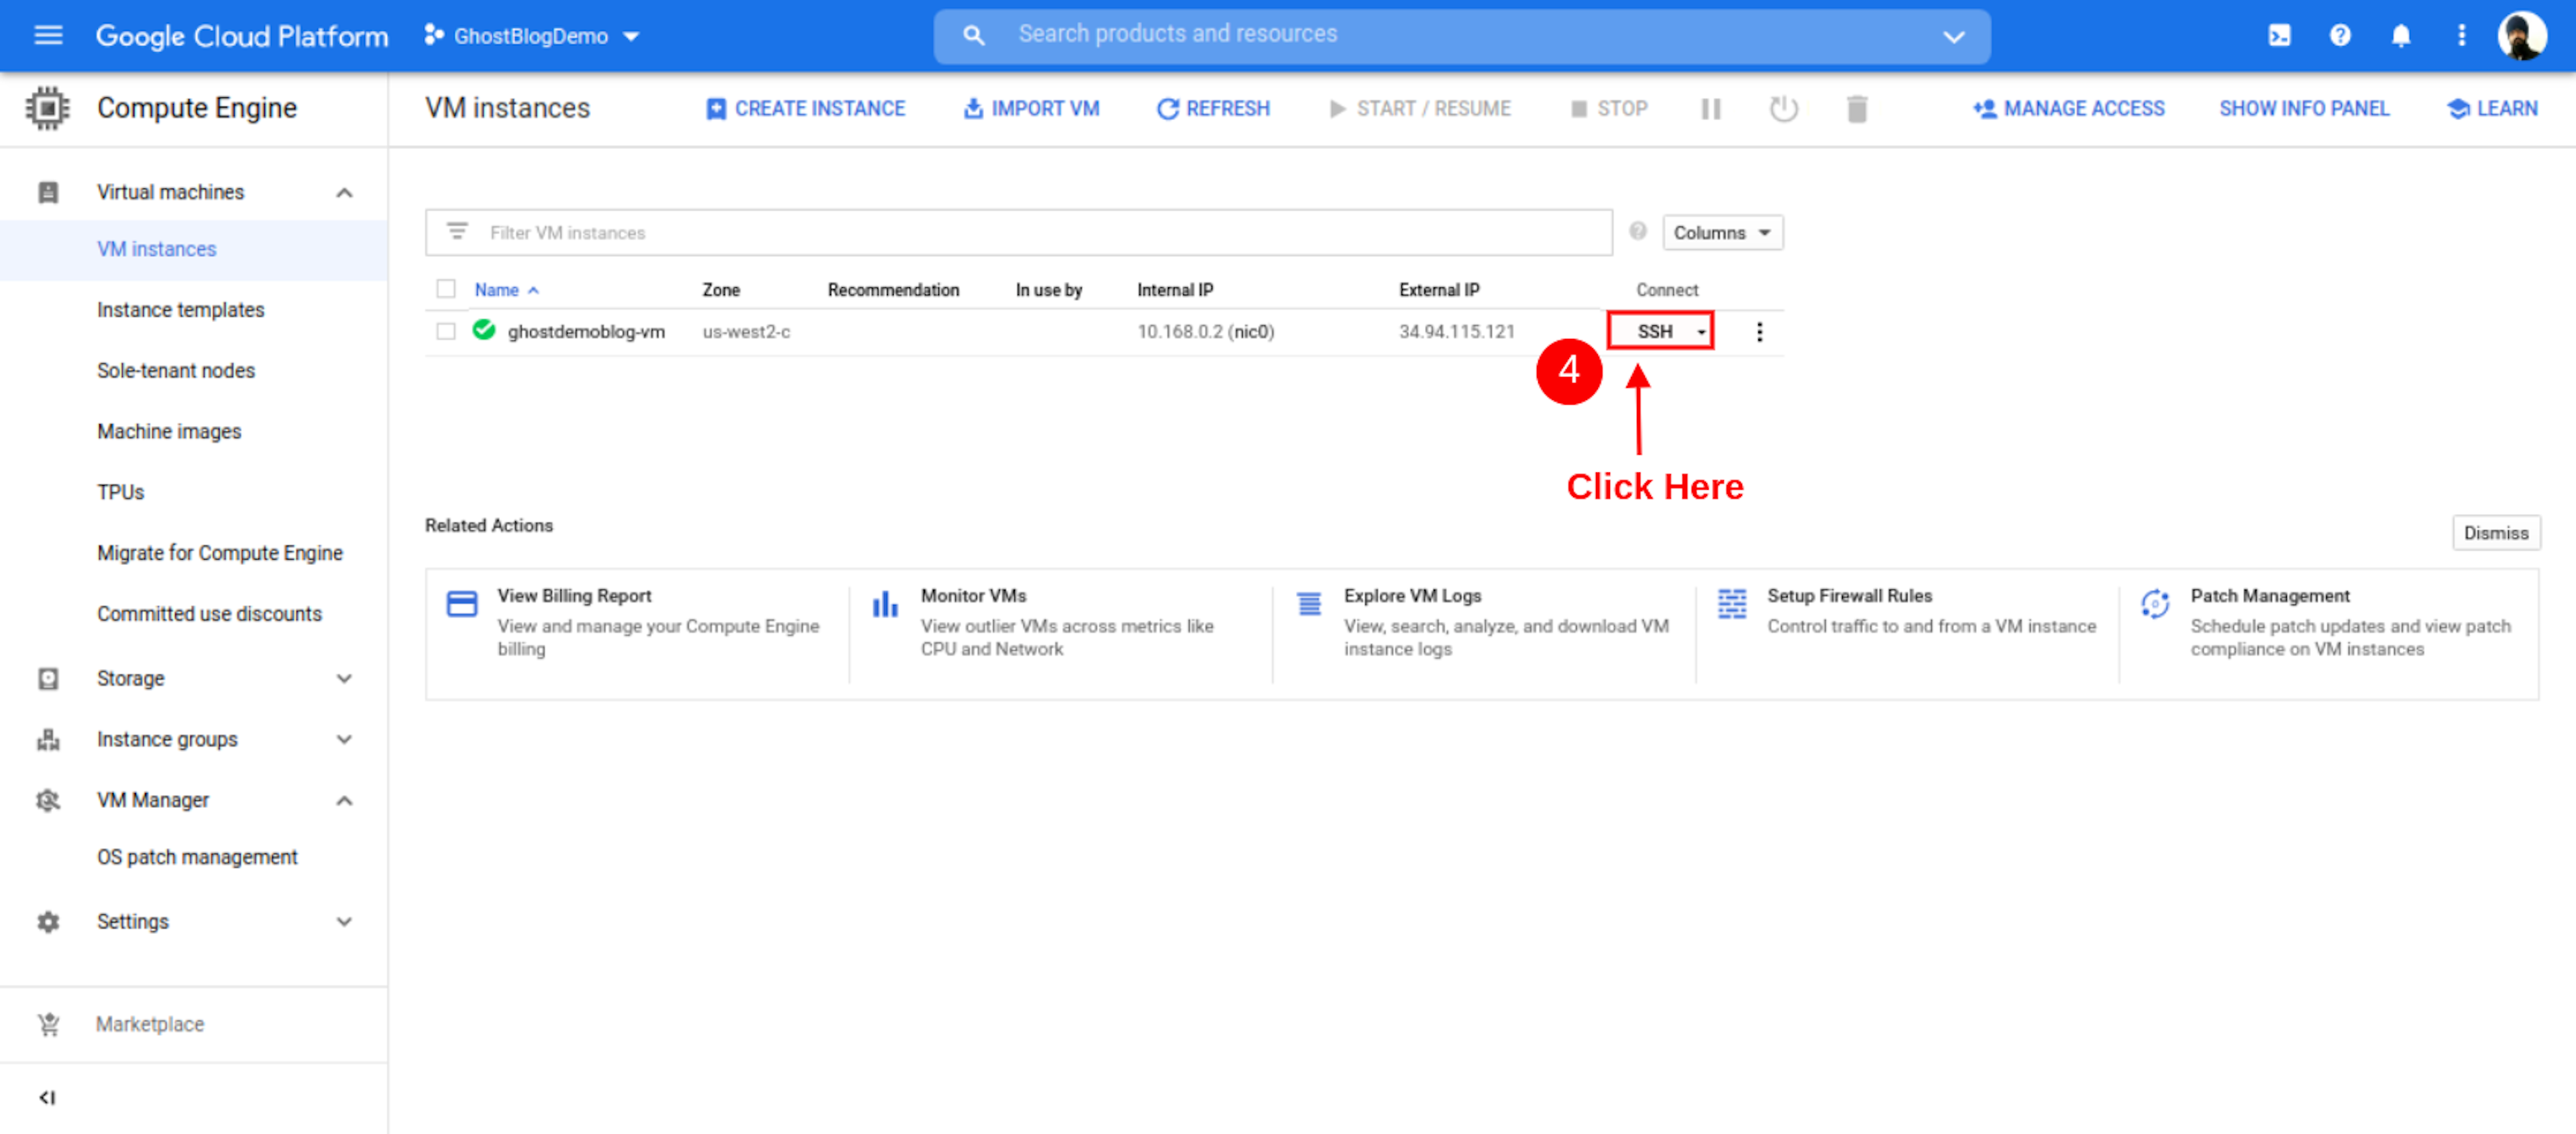
- After the Open Instance page, click SSH Button.
- After Open Your Instance Page. Then Click SSH Button. Some You See Open New Window In button Side you See Your SSH terminal Successfully Open.
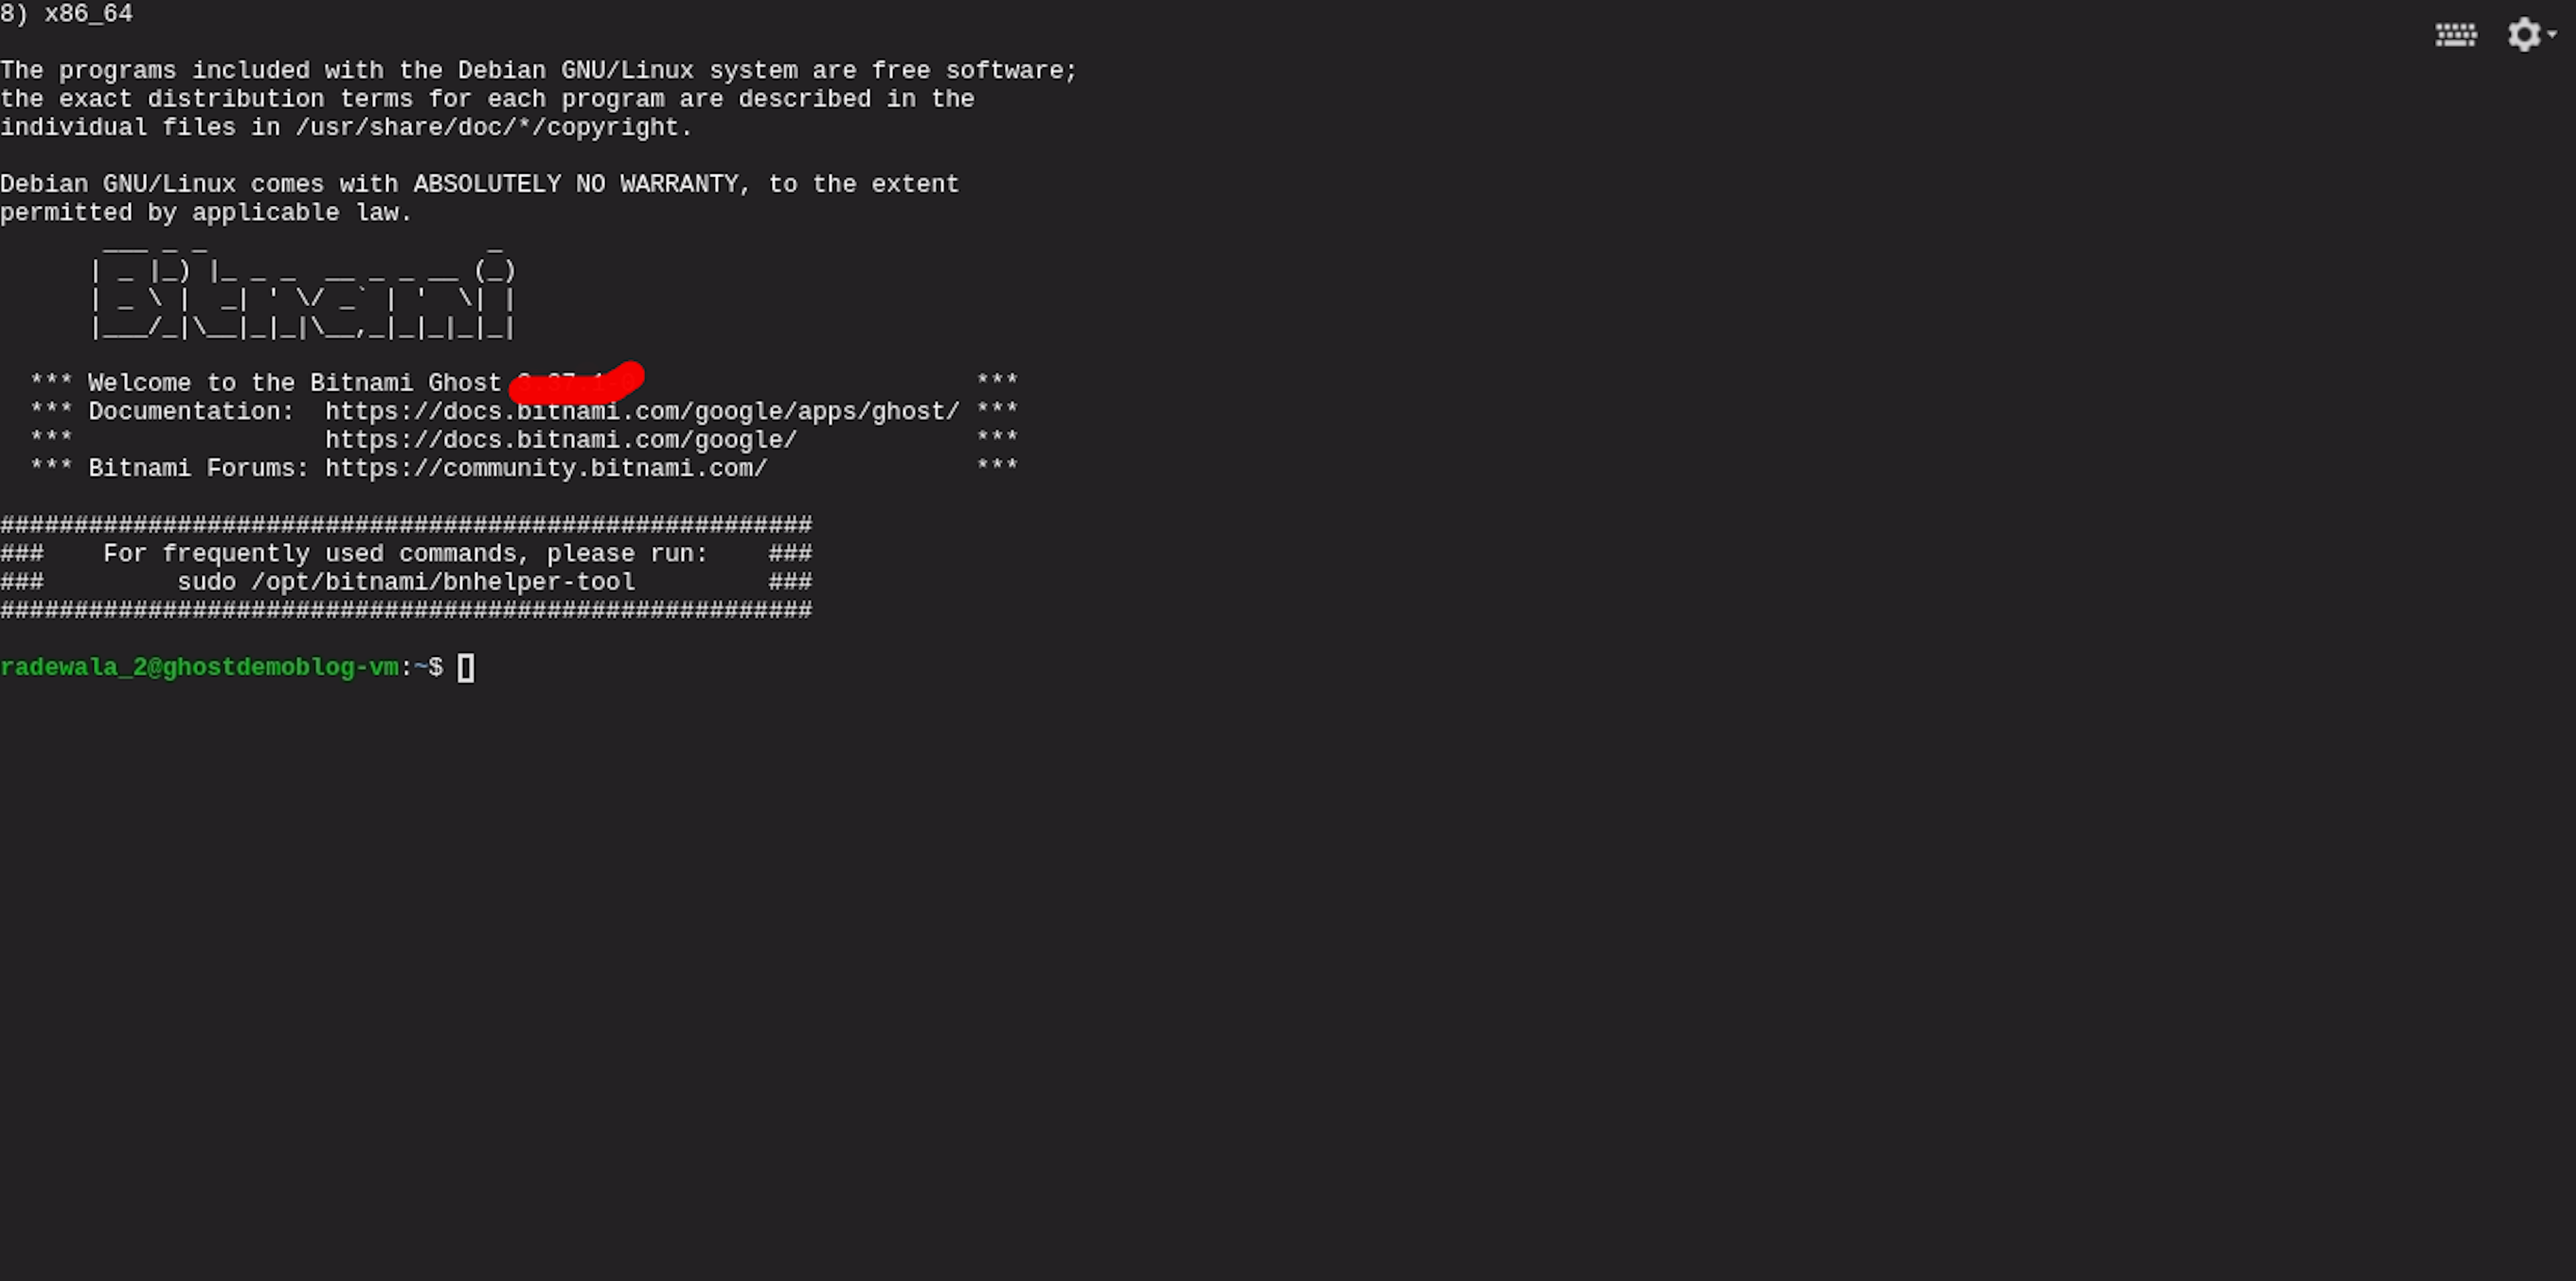
- Open Your Currently Install Ghost Instances.
Enable Firewalls
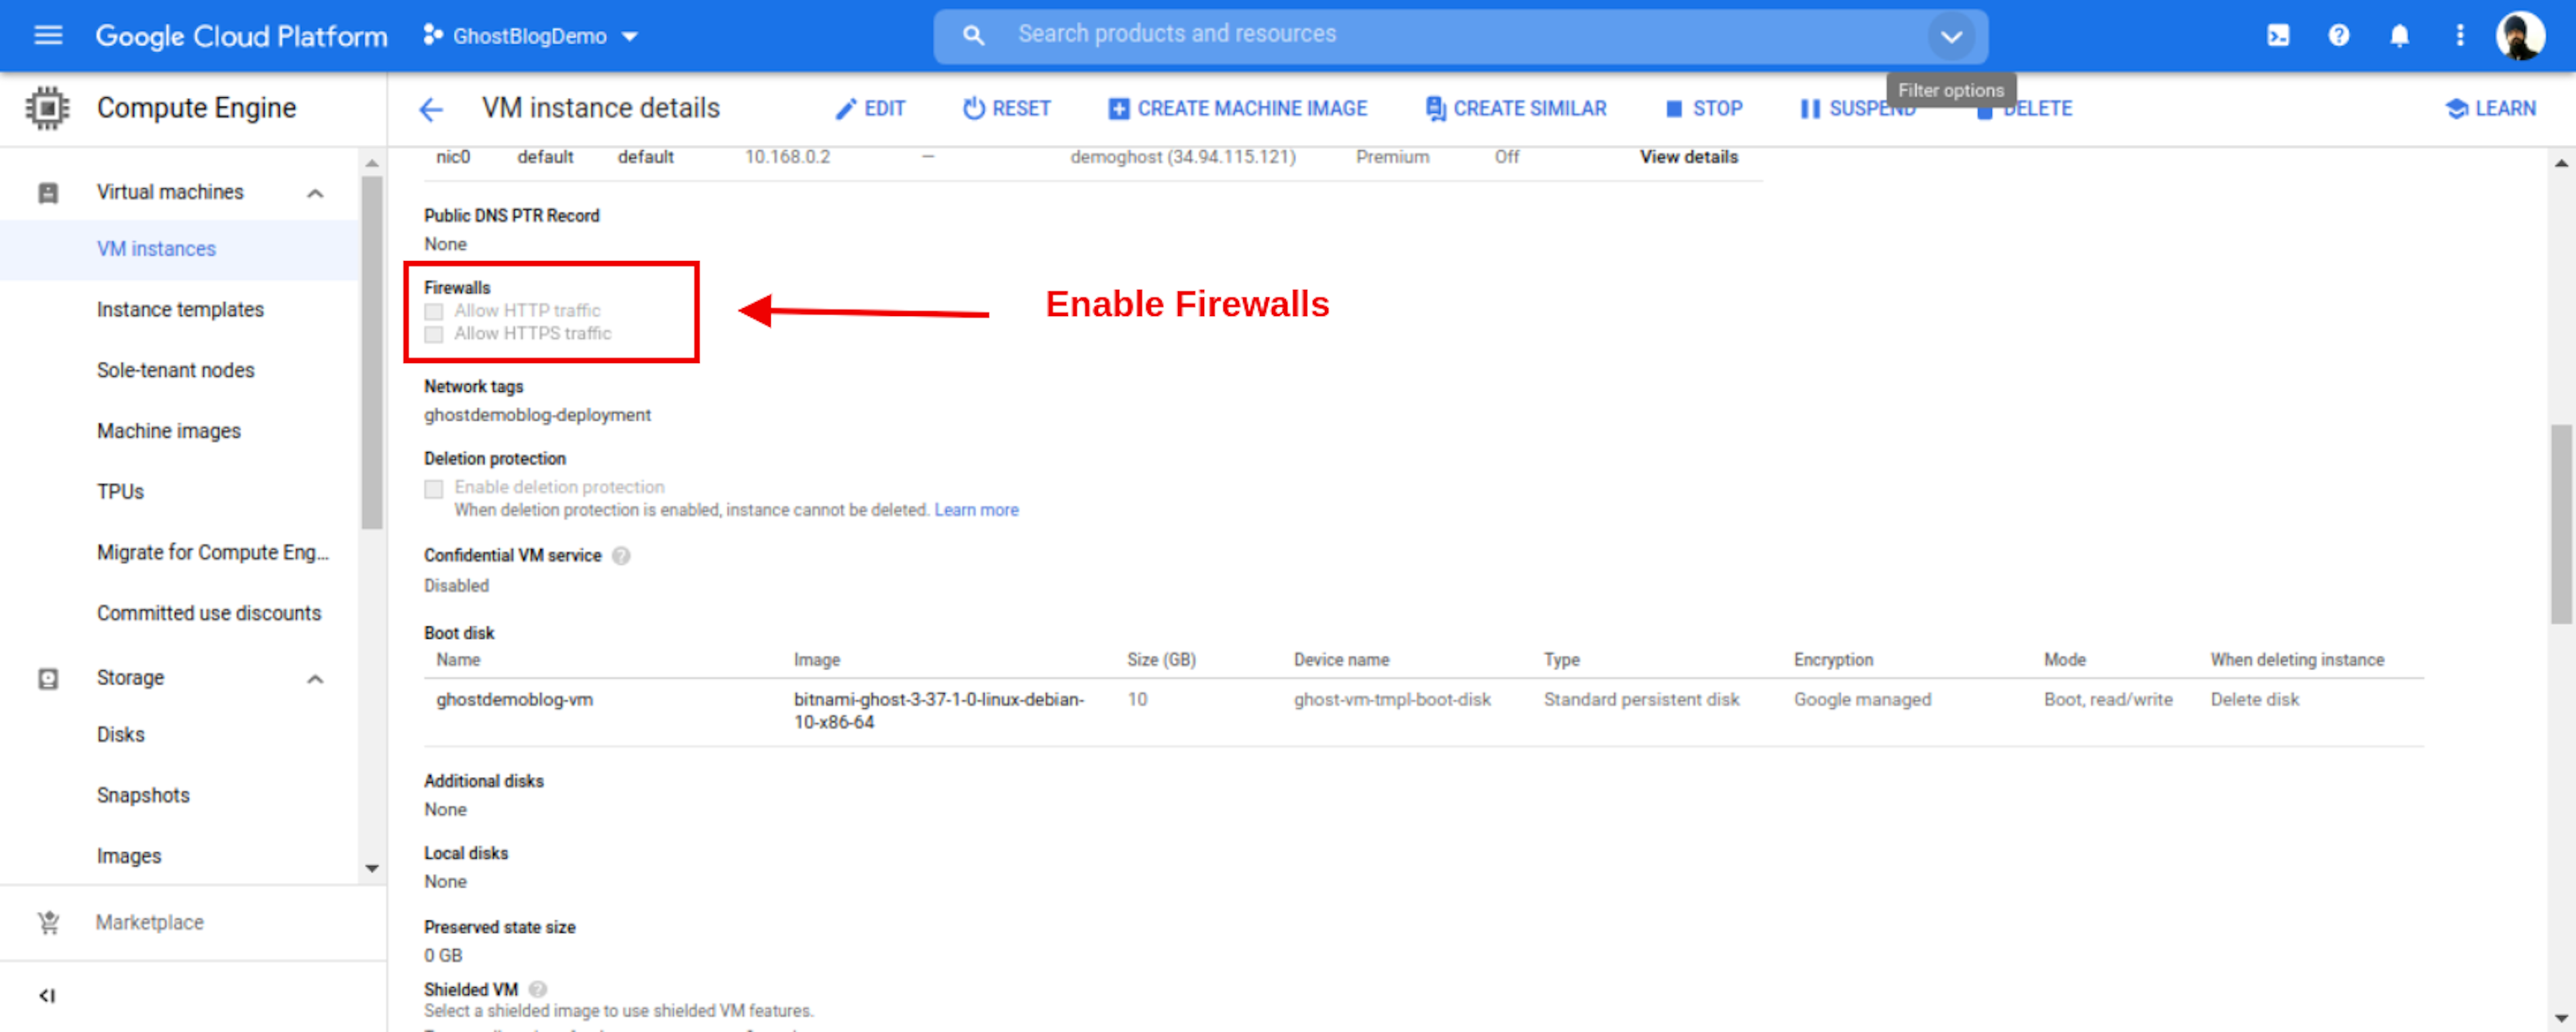
When Your Instance Webpage, Open In Your Web browser. Then Go To Scroll Down Find Firewalls Section And Enable Both Firewalls.
- Allow HTTP traffic (Enable)
- Allow HTTPS traffic (Enable)
After You Allow Https Or Http Request On Your Domain and After install SSL. Suppose You Do Not Enable Firewalls. You show error InSide GCP. Make Sure You Enable Firewalls Then Install SSL.
- Same Case You all ready Install SSL Your Domain. Your Website Image Not Show. In that Case, Firstly, Enable Your Firewalls In Your Ghost Instance.
- And Config Your Domain Inside Your Configure
config.production.jsonand Add Https In Side Url section. - Make Sure Restart Your Ghost CMS. This Most Important Step For You.
Example
url:"http://officialrajdeepsingh.dev"
Change Https In Side Your config.production.json File
URL:"https://officialrajdeepsingh.dev"
After You Change the URL In Your Website, you See an Image Success Render on Your website With an Absolute Path with SSL.
https://officialrajdeepsingh.dev/featured-image-does-not-load-after-installing-ssl-in-bitnami/