If You Install Your Ghost Cms Blog Help Of Bitnami.By Default Ghost CMS, Take Your IP Address as Url. When You Add Your Domain On Ghost. You Show By Default Your Ip Address Show Inside Your Navigation panel. You Edit Manual To Change Url In Navigation.Q: How To Solve This Issue?Ans: Simple You Config Your Domain Inside Your Ghost CMS.
- Google Cloud Dashboard.
- Open SSH
- Past Some Cmd Command In Terminal.
Google Cloud Dashboard
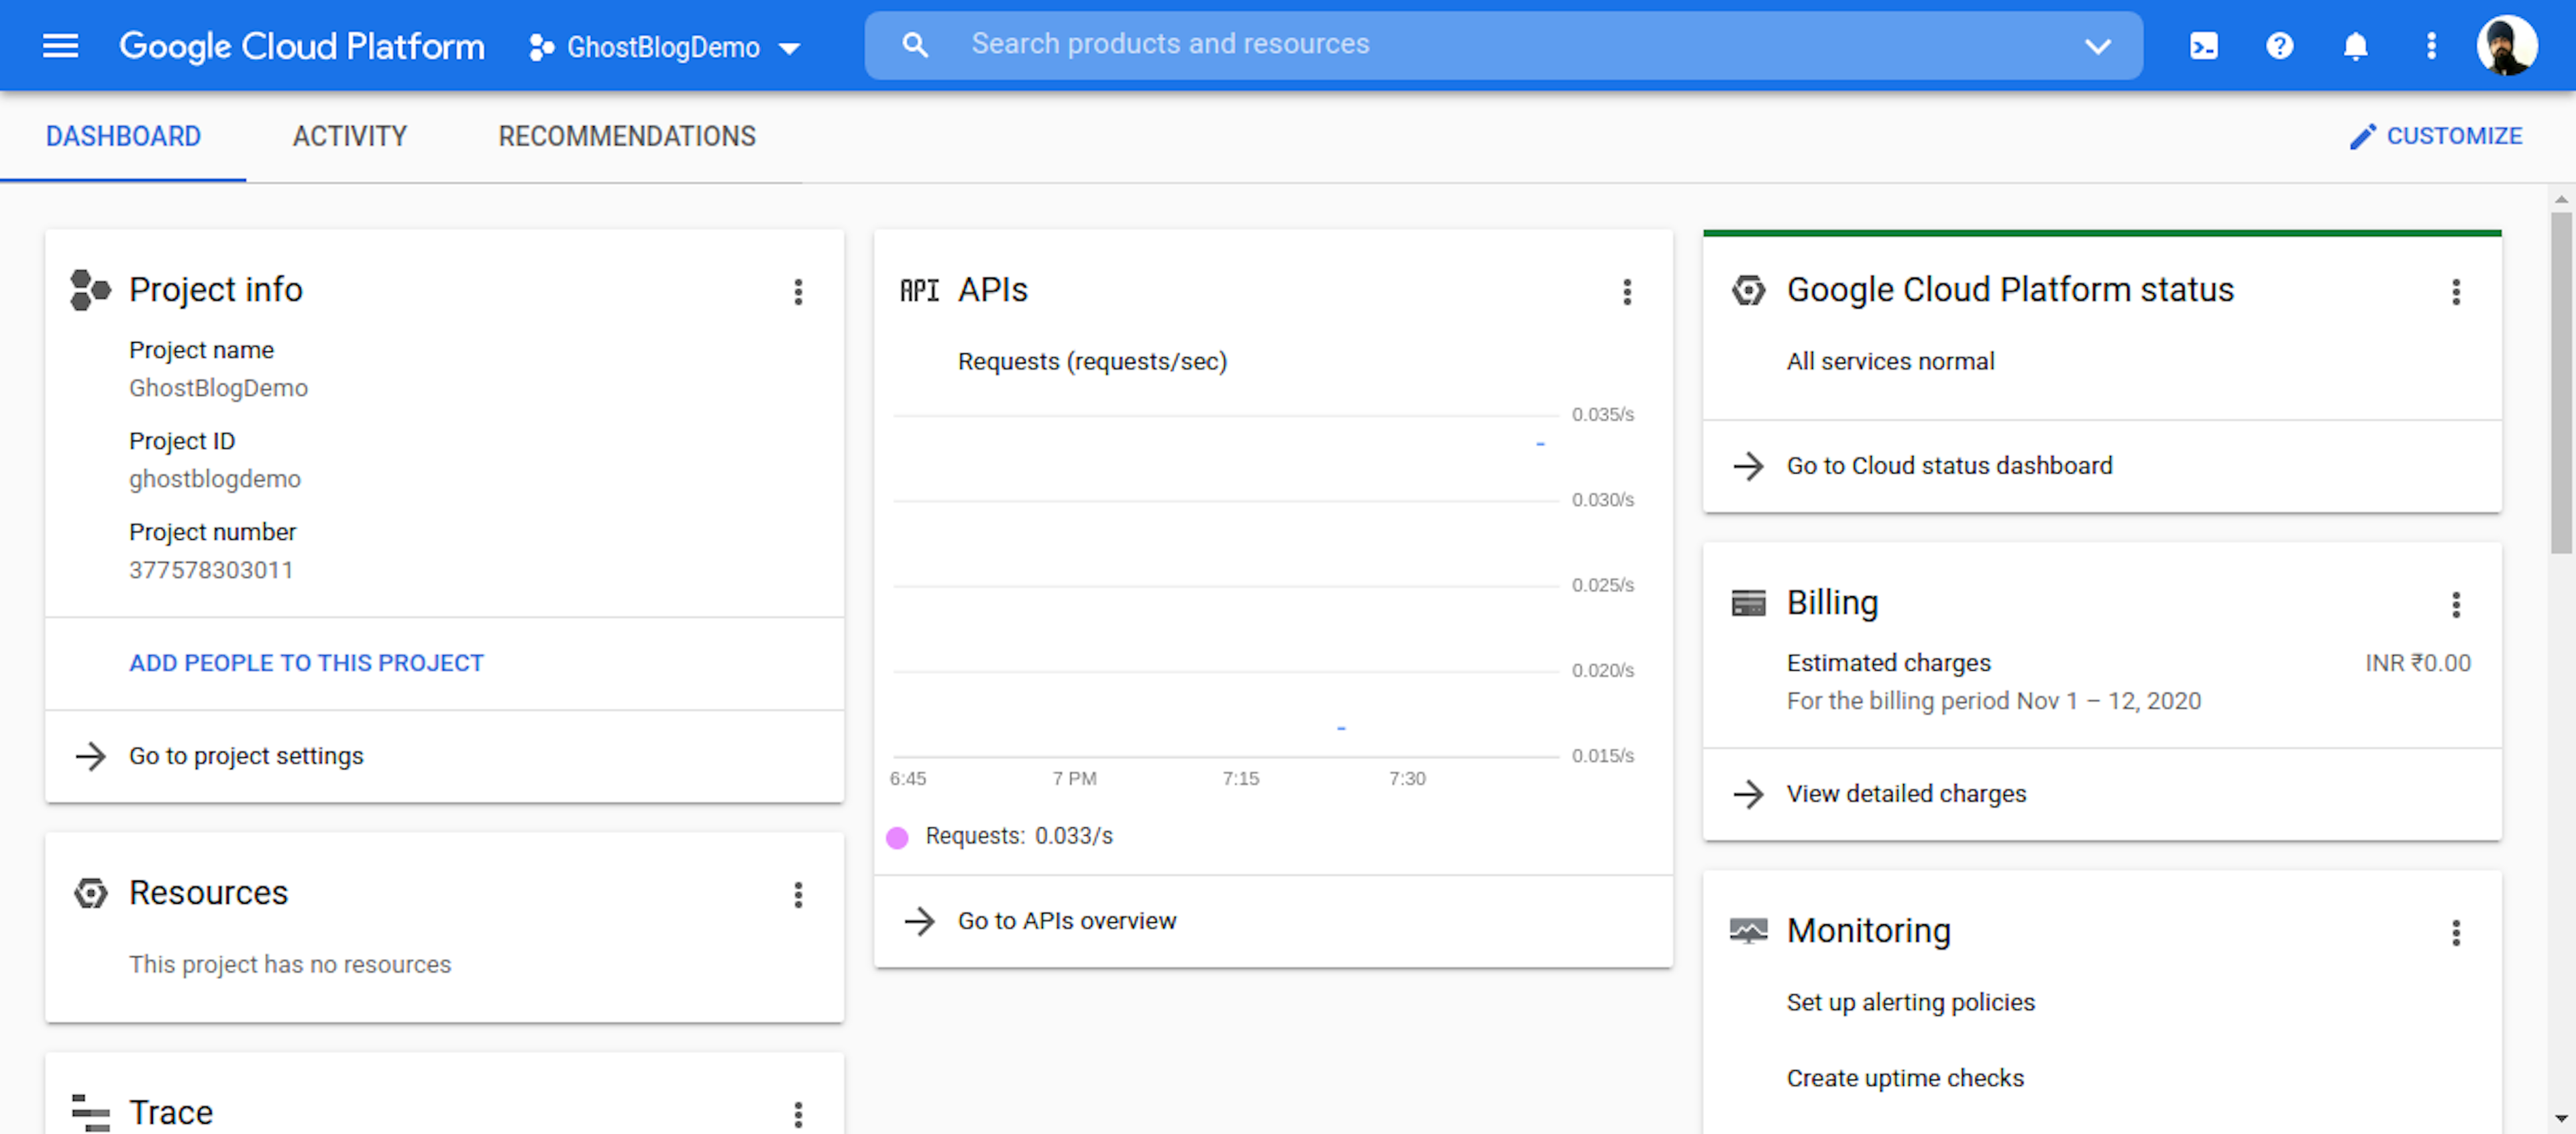
- Open Your Google Console Dashboard.
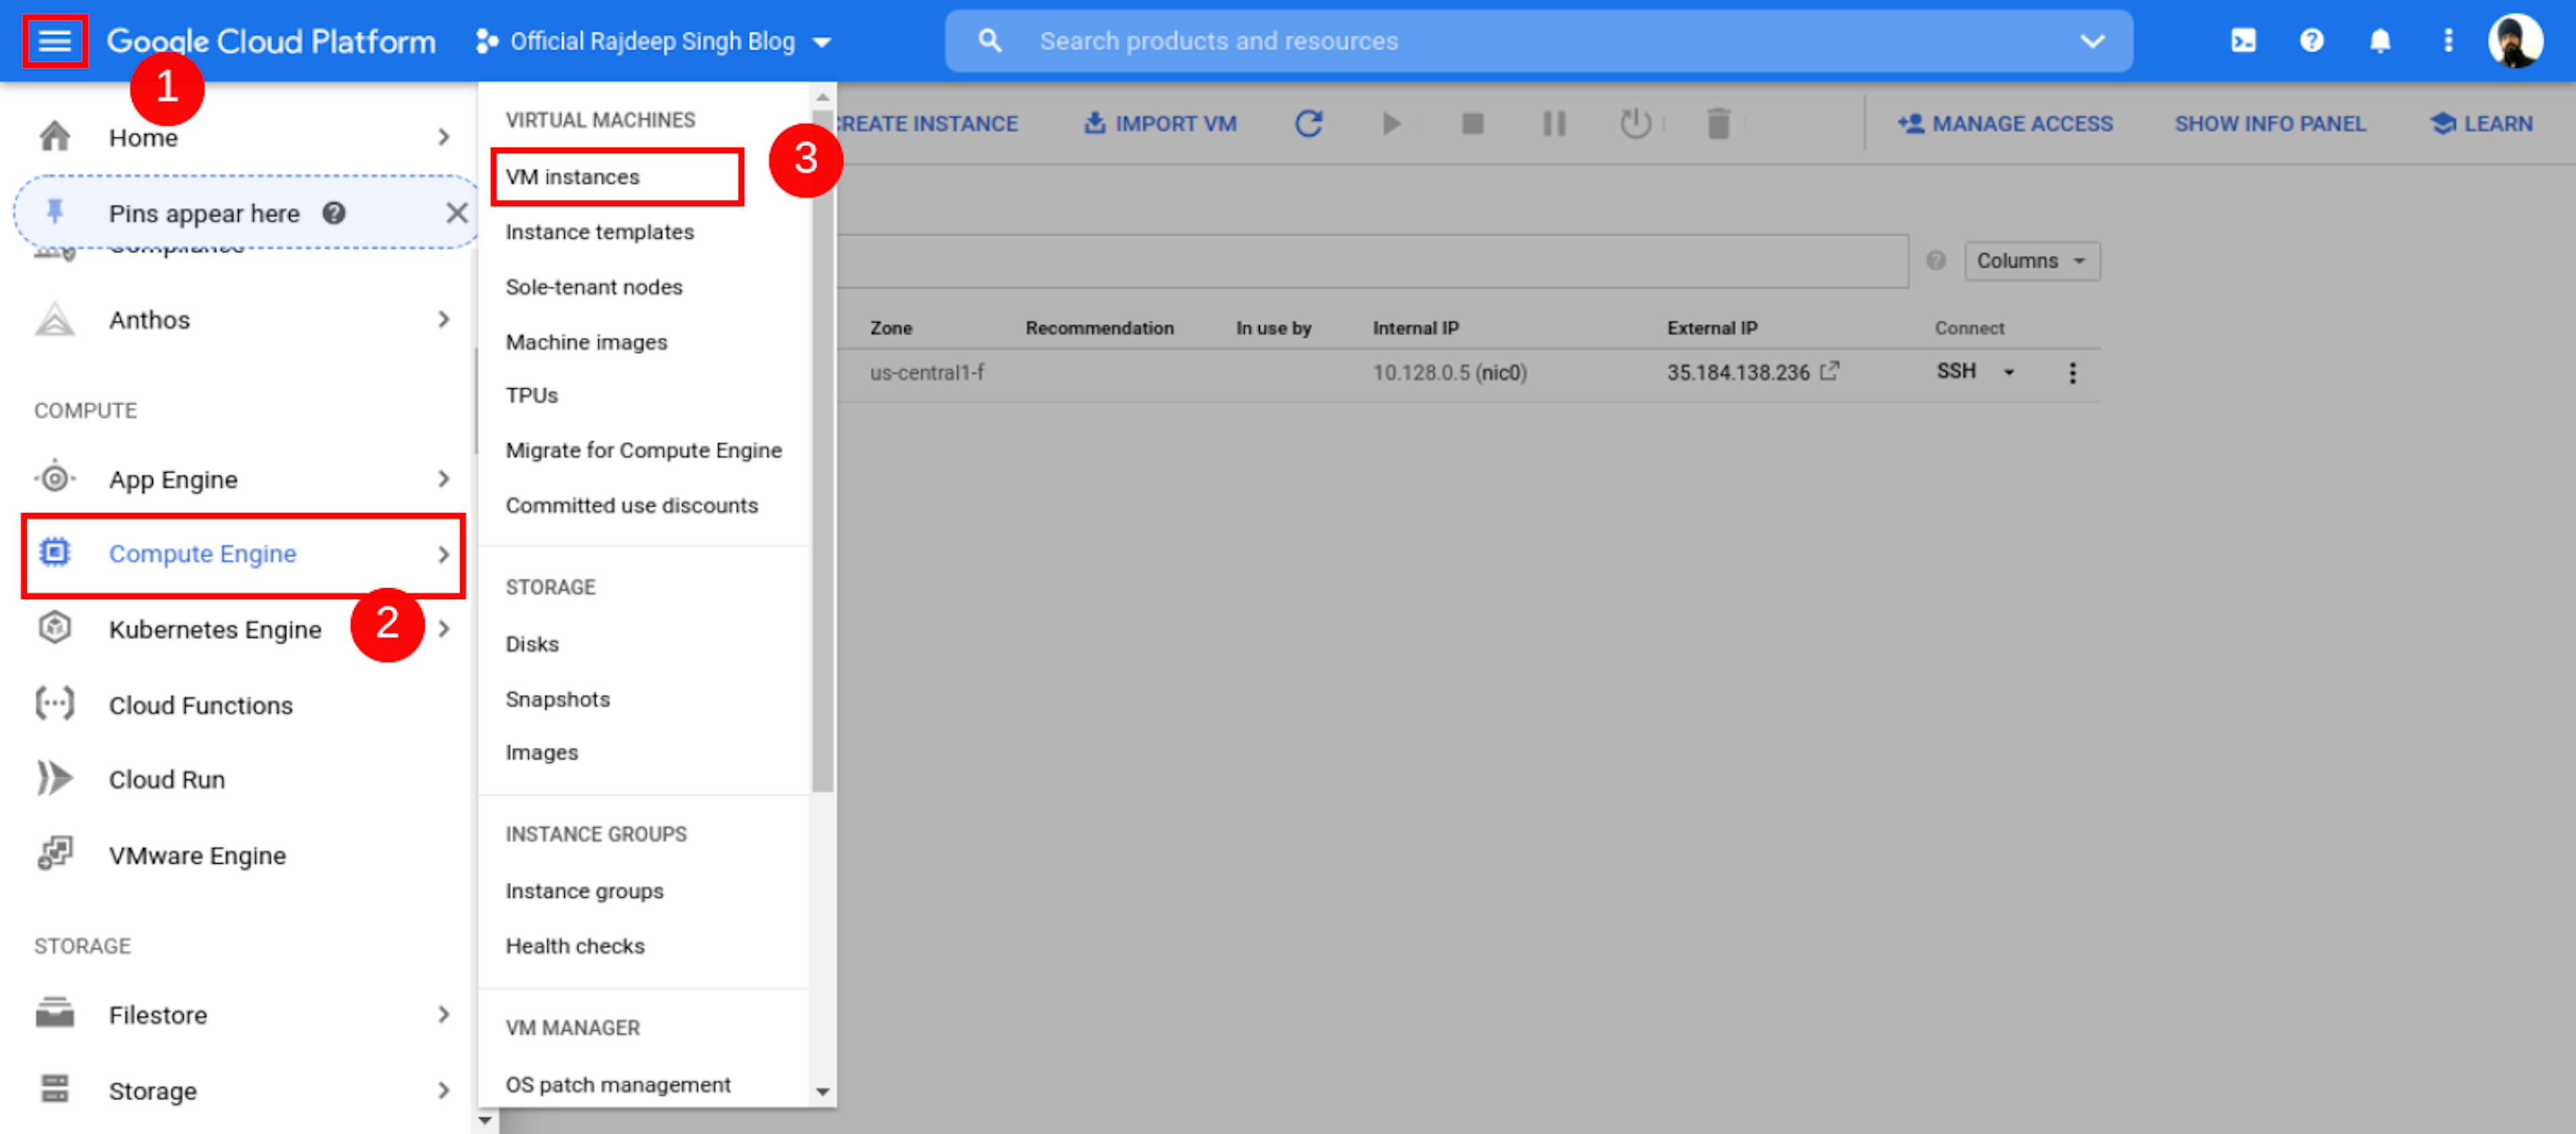
- Open Your Google Console Dashboard Then Click Top Left Conner humber Icon. Click Compute Engine, Select VM Instance, Then Your VM Instance Page Open.
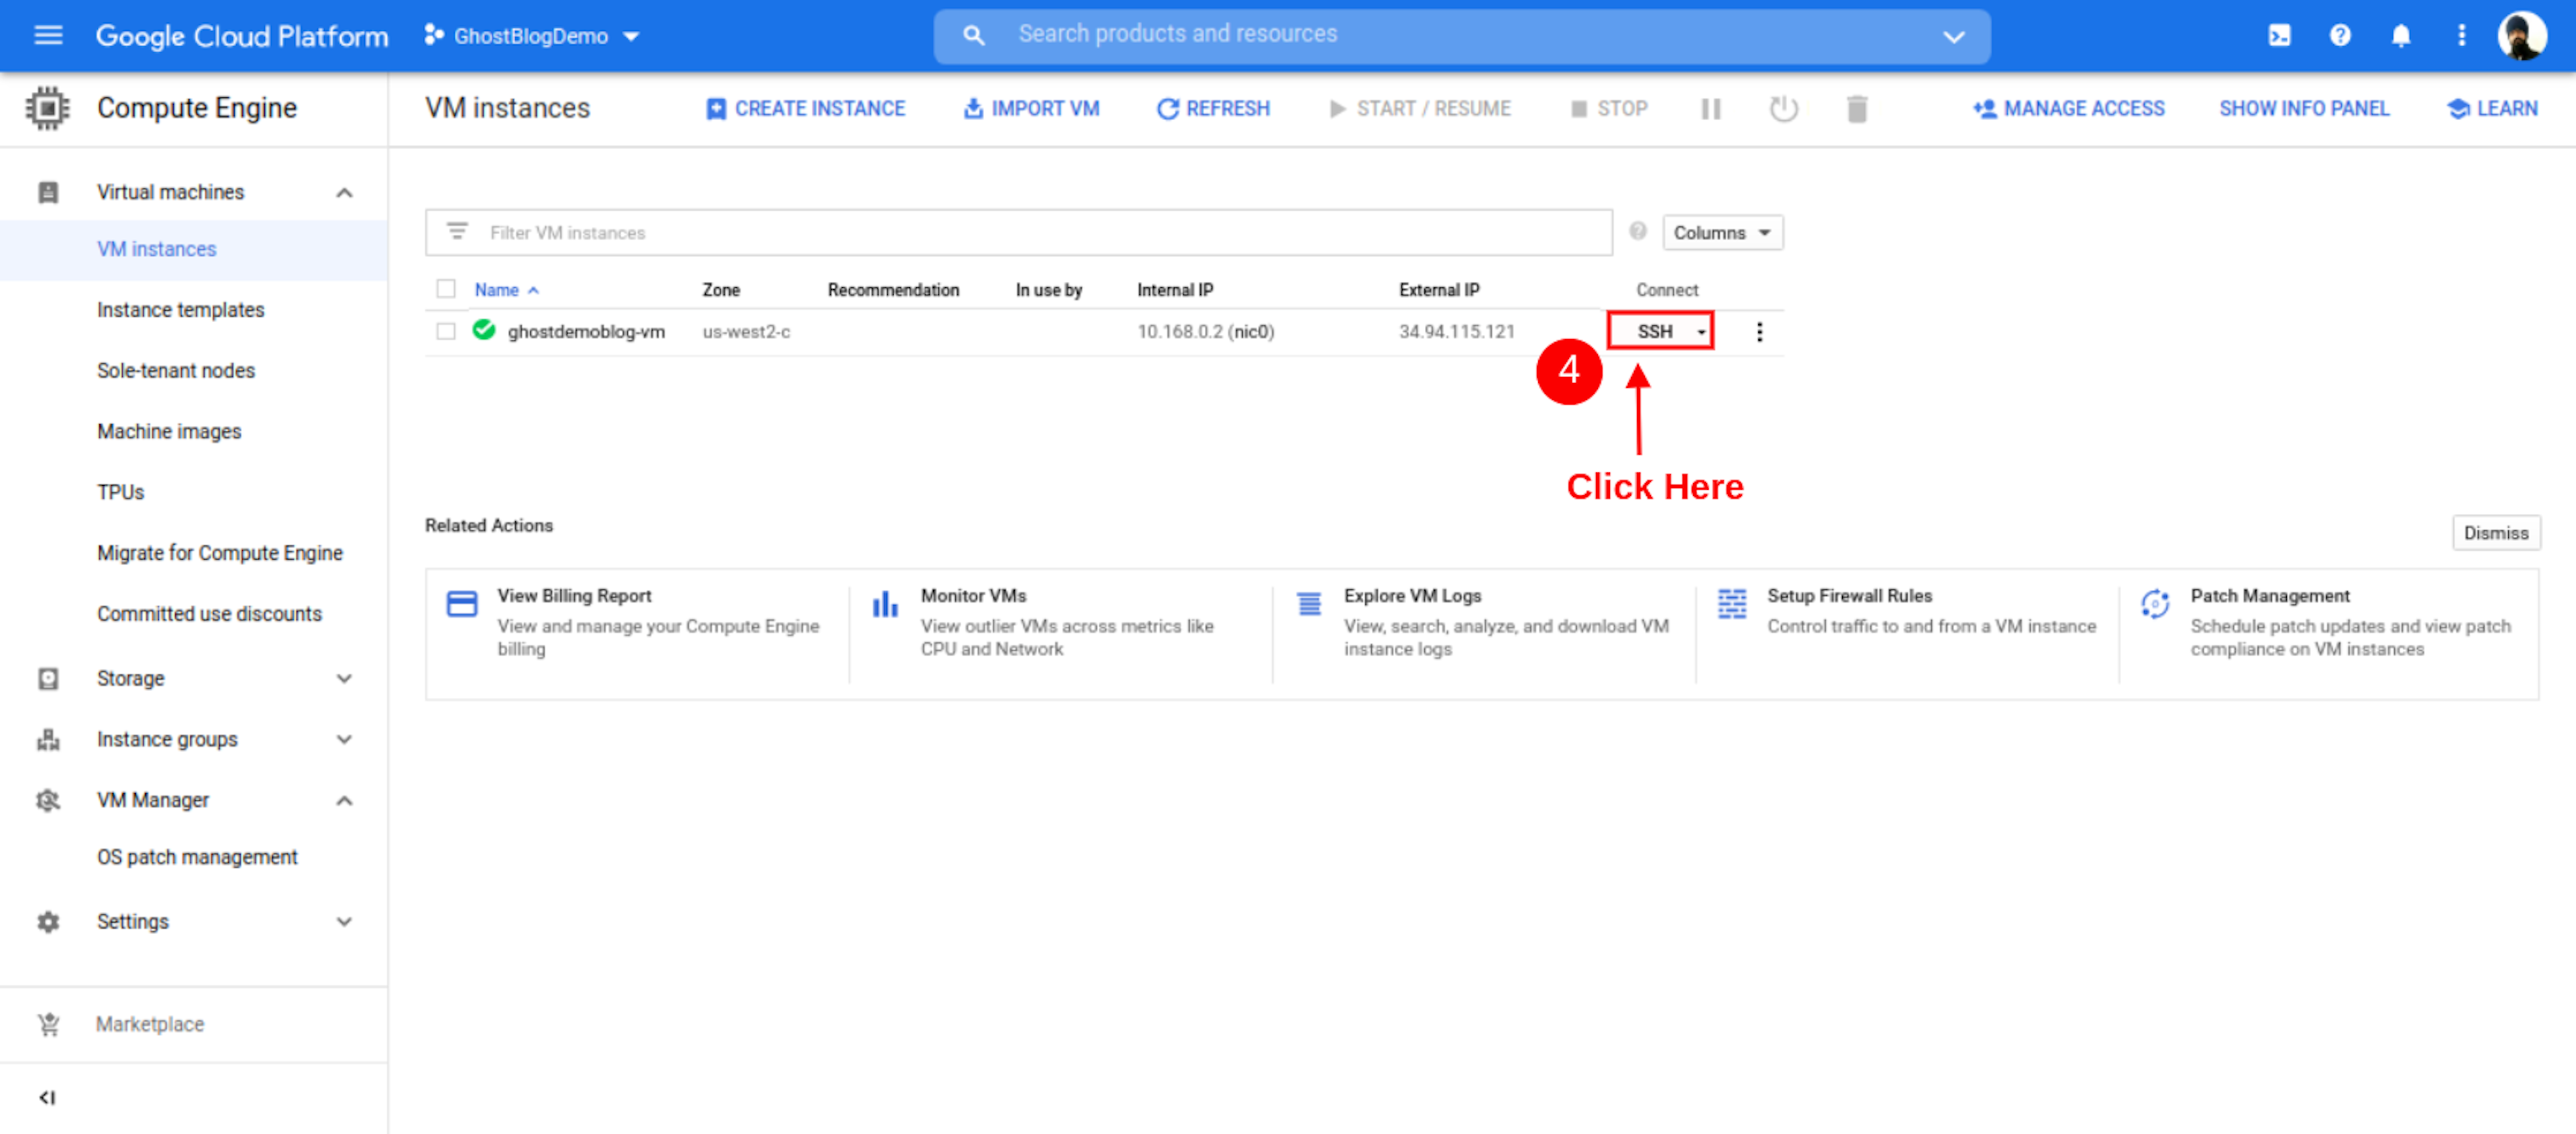
- After the Open Instance page, click SSH Button.
Open SSH:
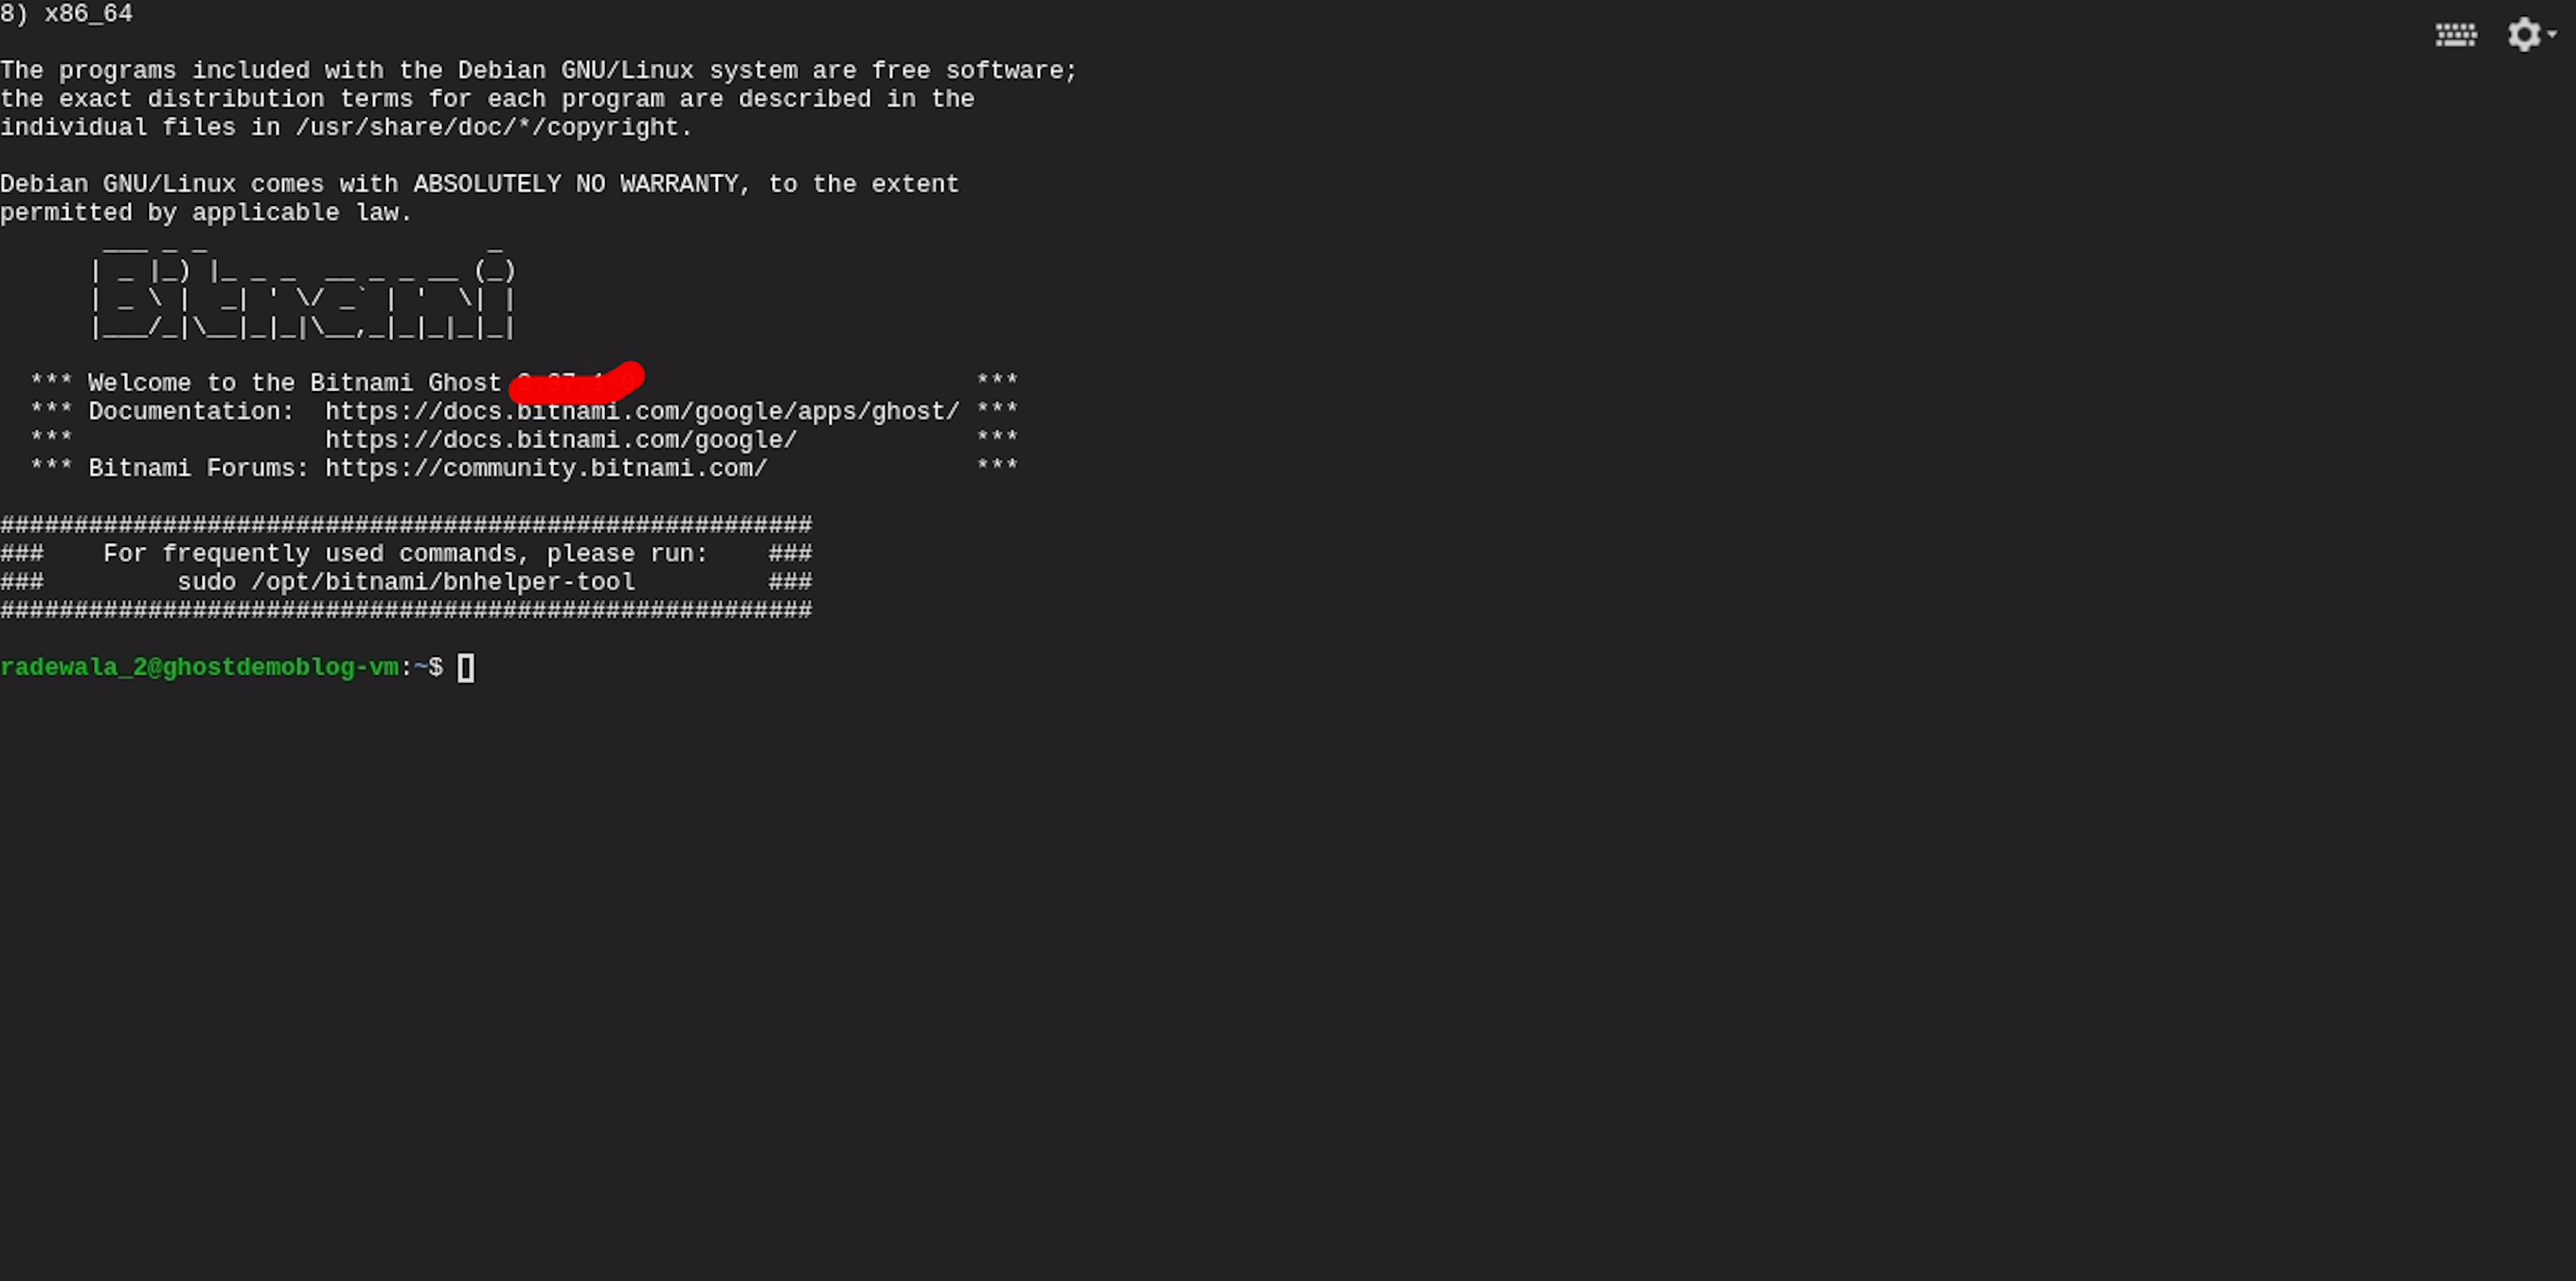
- After Open Your Instance Page. Then Click SSH Button. You See Your SSH terminal Successfully Open.
Basic Information About Ghost Config File.
The ghost requires the domain name to be specified in the
/opt/bitnami/apps/ghost/htdocs/config.production.json file.
Check Your Domain Config. Simple use cat command inside ssh terminal.
sudo cat /opt/bitnami/apps/ghost/htdocs/config.production.json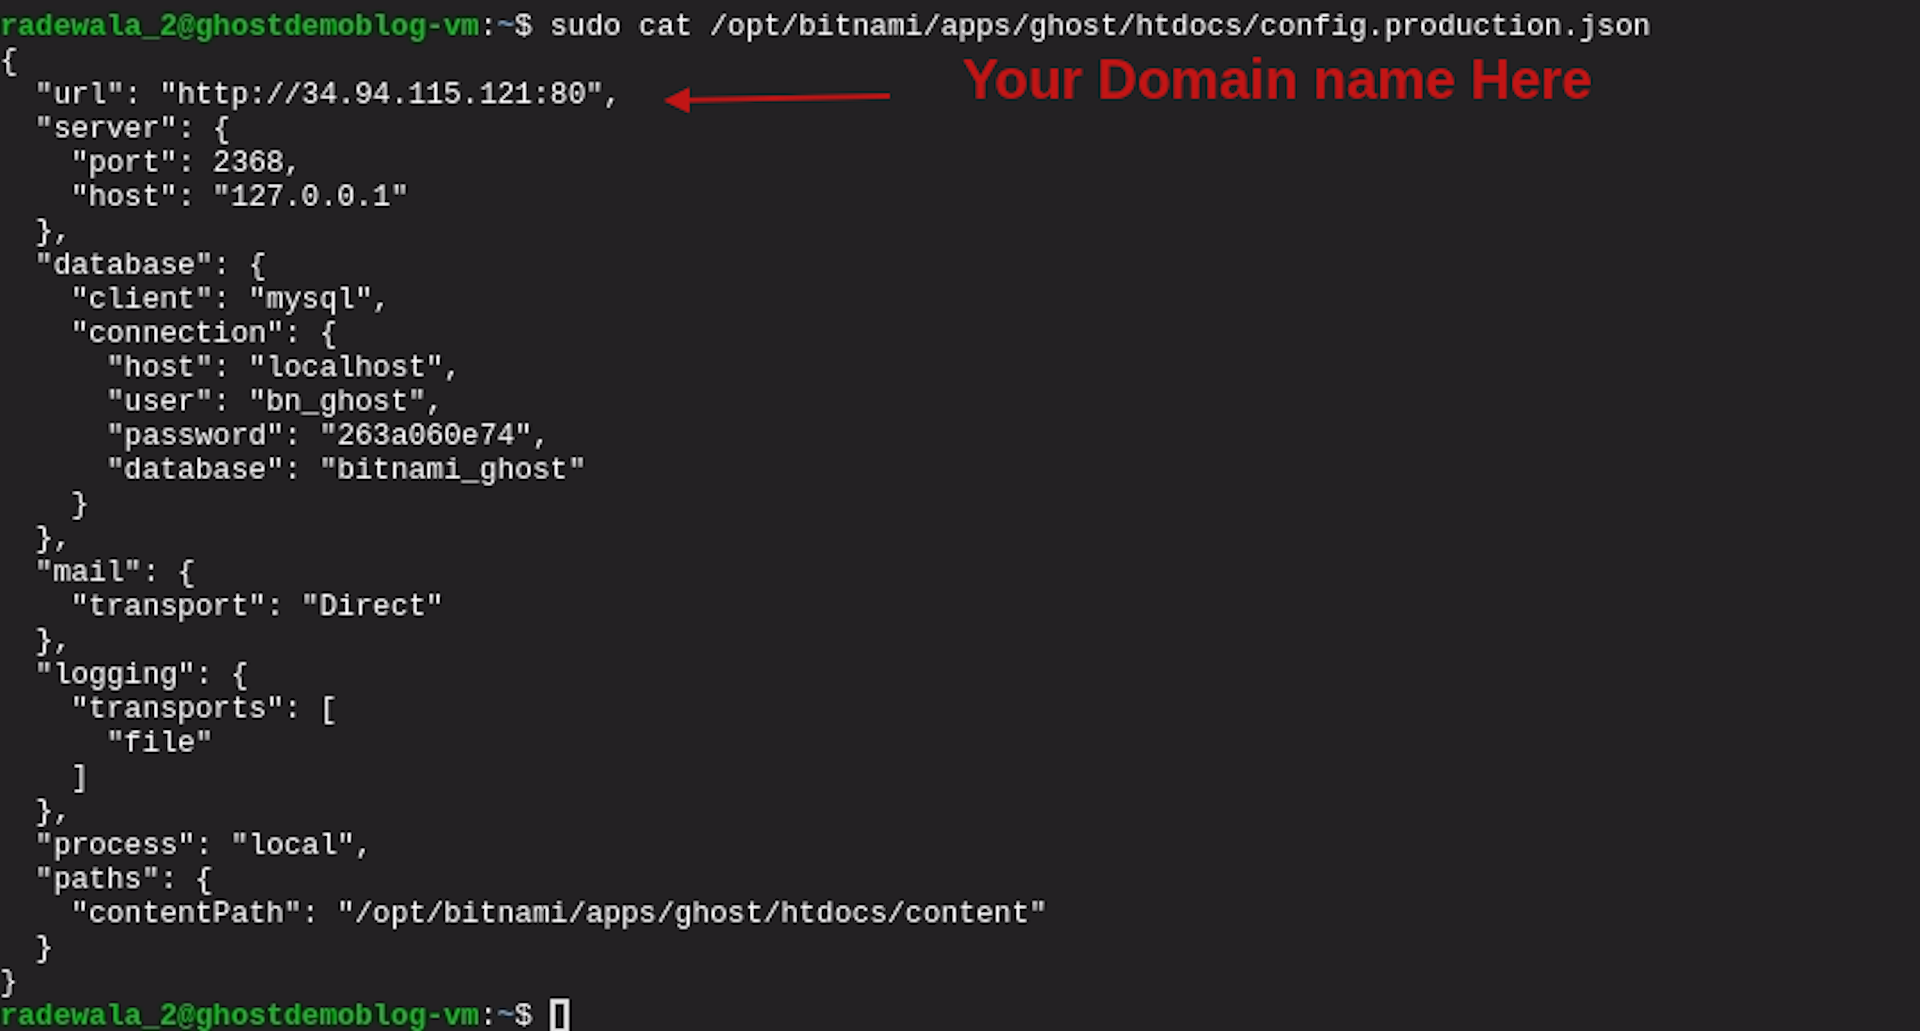
When You Open config.production.json, Your URL
url: 'example.com'Or, Most Of the Case When You Install Your Ghost cms Help of Bitnami, You Show Your External Ip Address URL on file.
url: 1.23.423,Past Some Cmd Command In Terminal
First Command
You Firstly Paste bnconfig configuration tool Command In Your Terminal.
sudo /opt/bitnami/apps/ghost/bnconfig --machine_hostname example.com- example.com Change with Your Domain. Example: officialrajdeepsingh.dev
- Do not add Http, Https, and www.
Second Command
Some Time We Boot Ghost Instance. Our Old IP Address Show in URL Field. So That You Do Not Face any Trouble So Rename Your bnconfig File extension To bnconfig disabled File. After bnconfig Tool does not change again at boot time: Your bnconfig configuration tool Does Not Work Again.
sudo mv /opt/bitnami/apps/ghost/bnconfig /opt/bitnami/apps/ghost/bnconfig.disabledCheck Domain Was Config Success Fully In Ghost
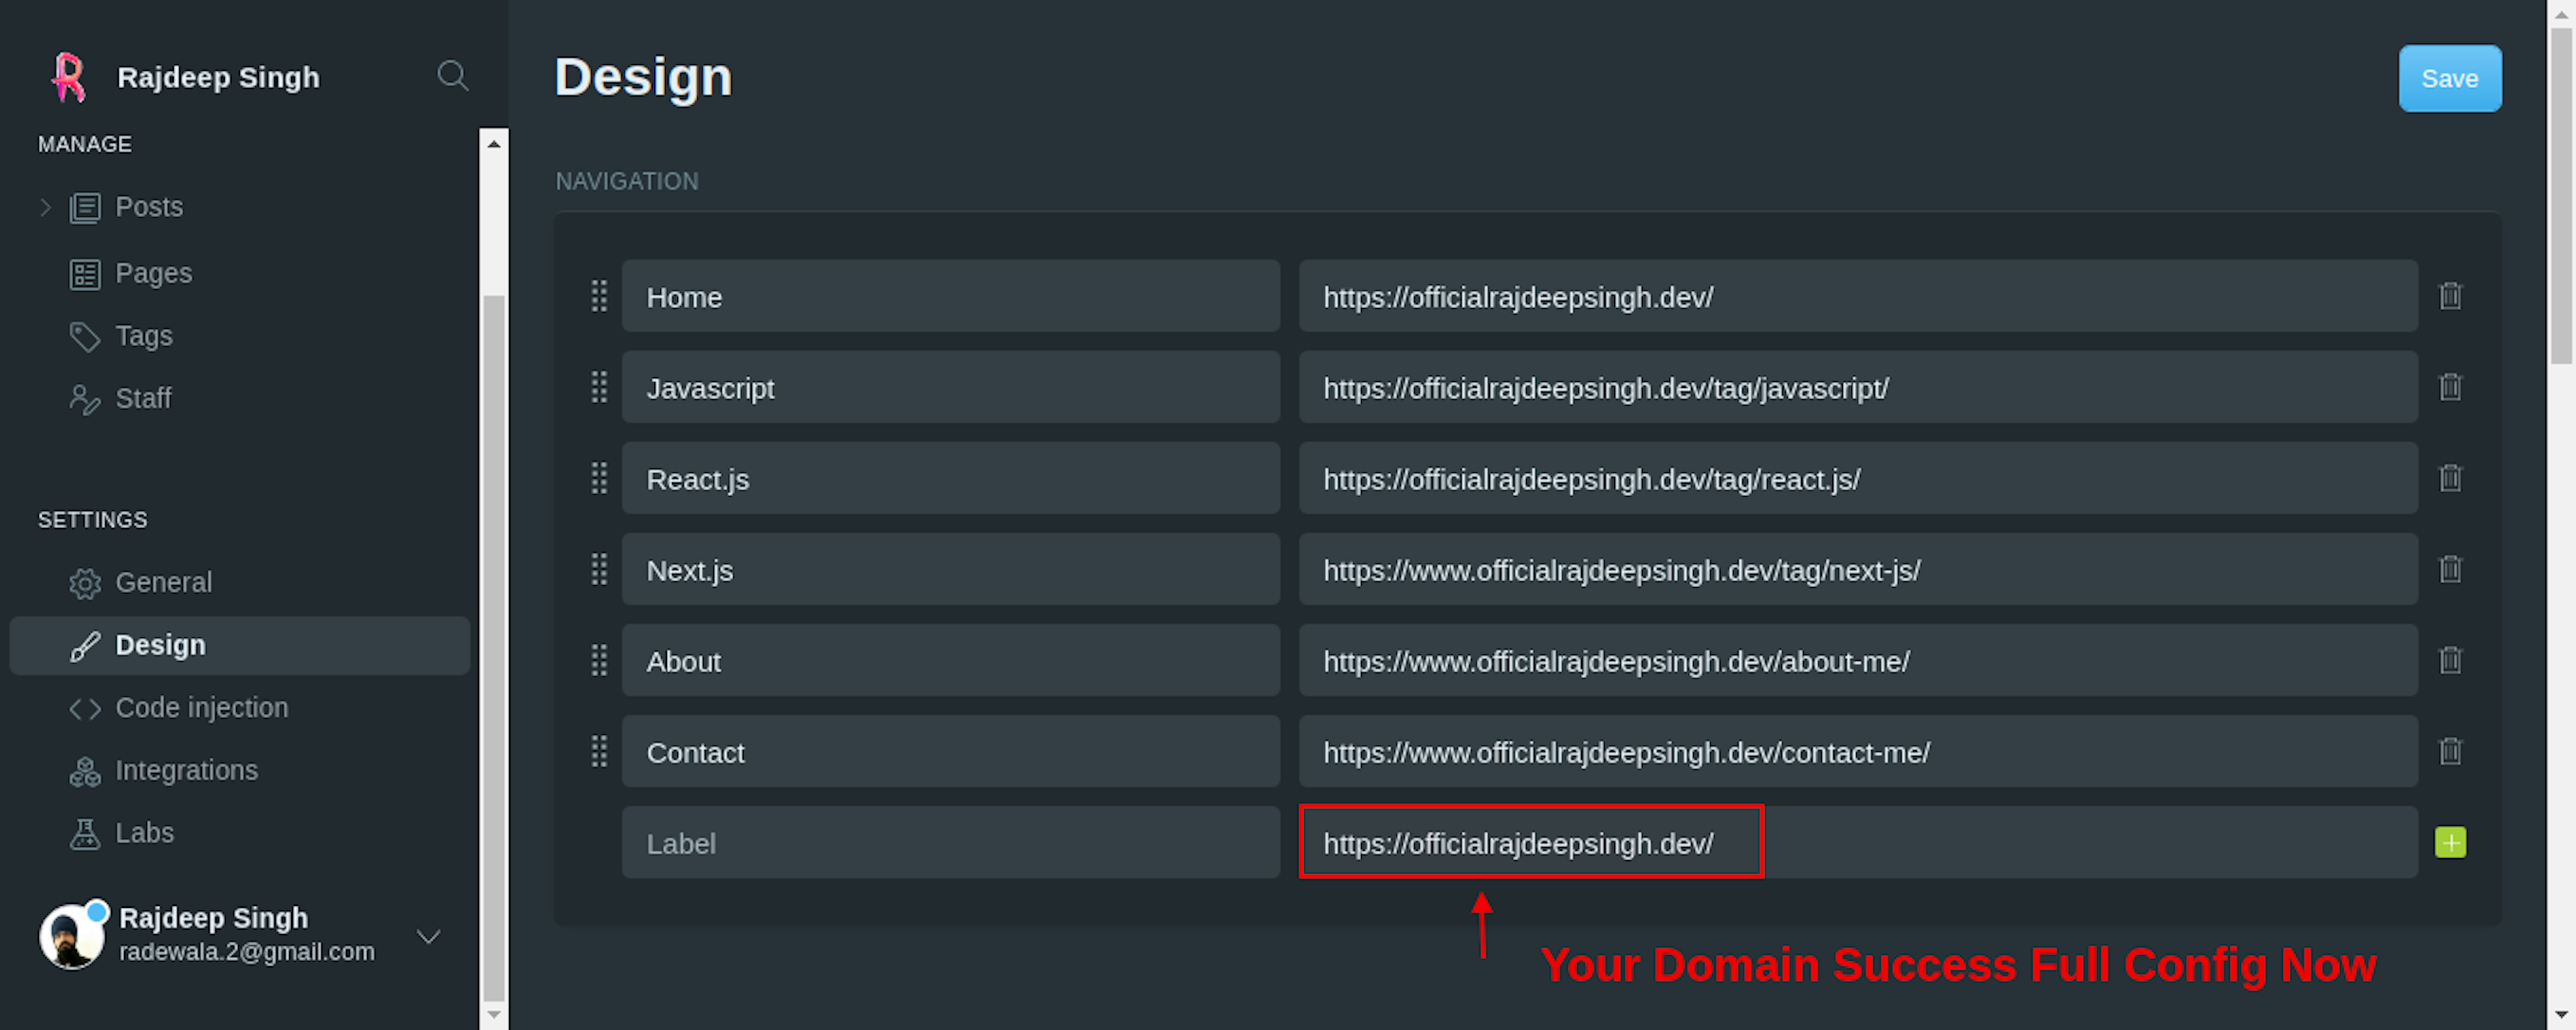
Your Command Run Success Fully In Terminal and Your Ghost CMS Run Success On Your Domain. Check out Your Ghost CMS Dashboard.
Conclusion
If You Follow My article.You Definite Configure Own domain Name in Ghost CMS. If you have Any Problems or Errors, Contact Me. I try to help and solve your problem.