Lets Start
There are 2 steps
- Access your Ghost instance
- Auto-Configure With Bitnami
Access your Ghost instance
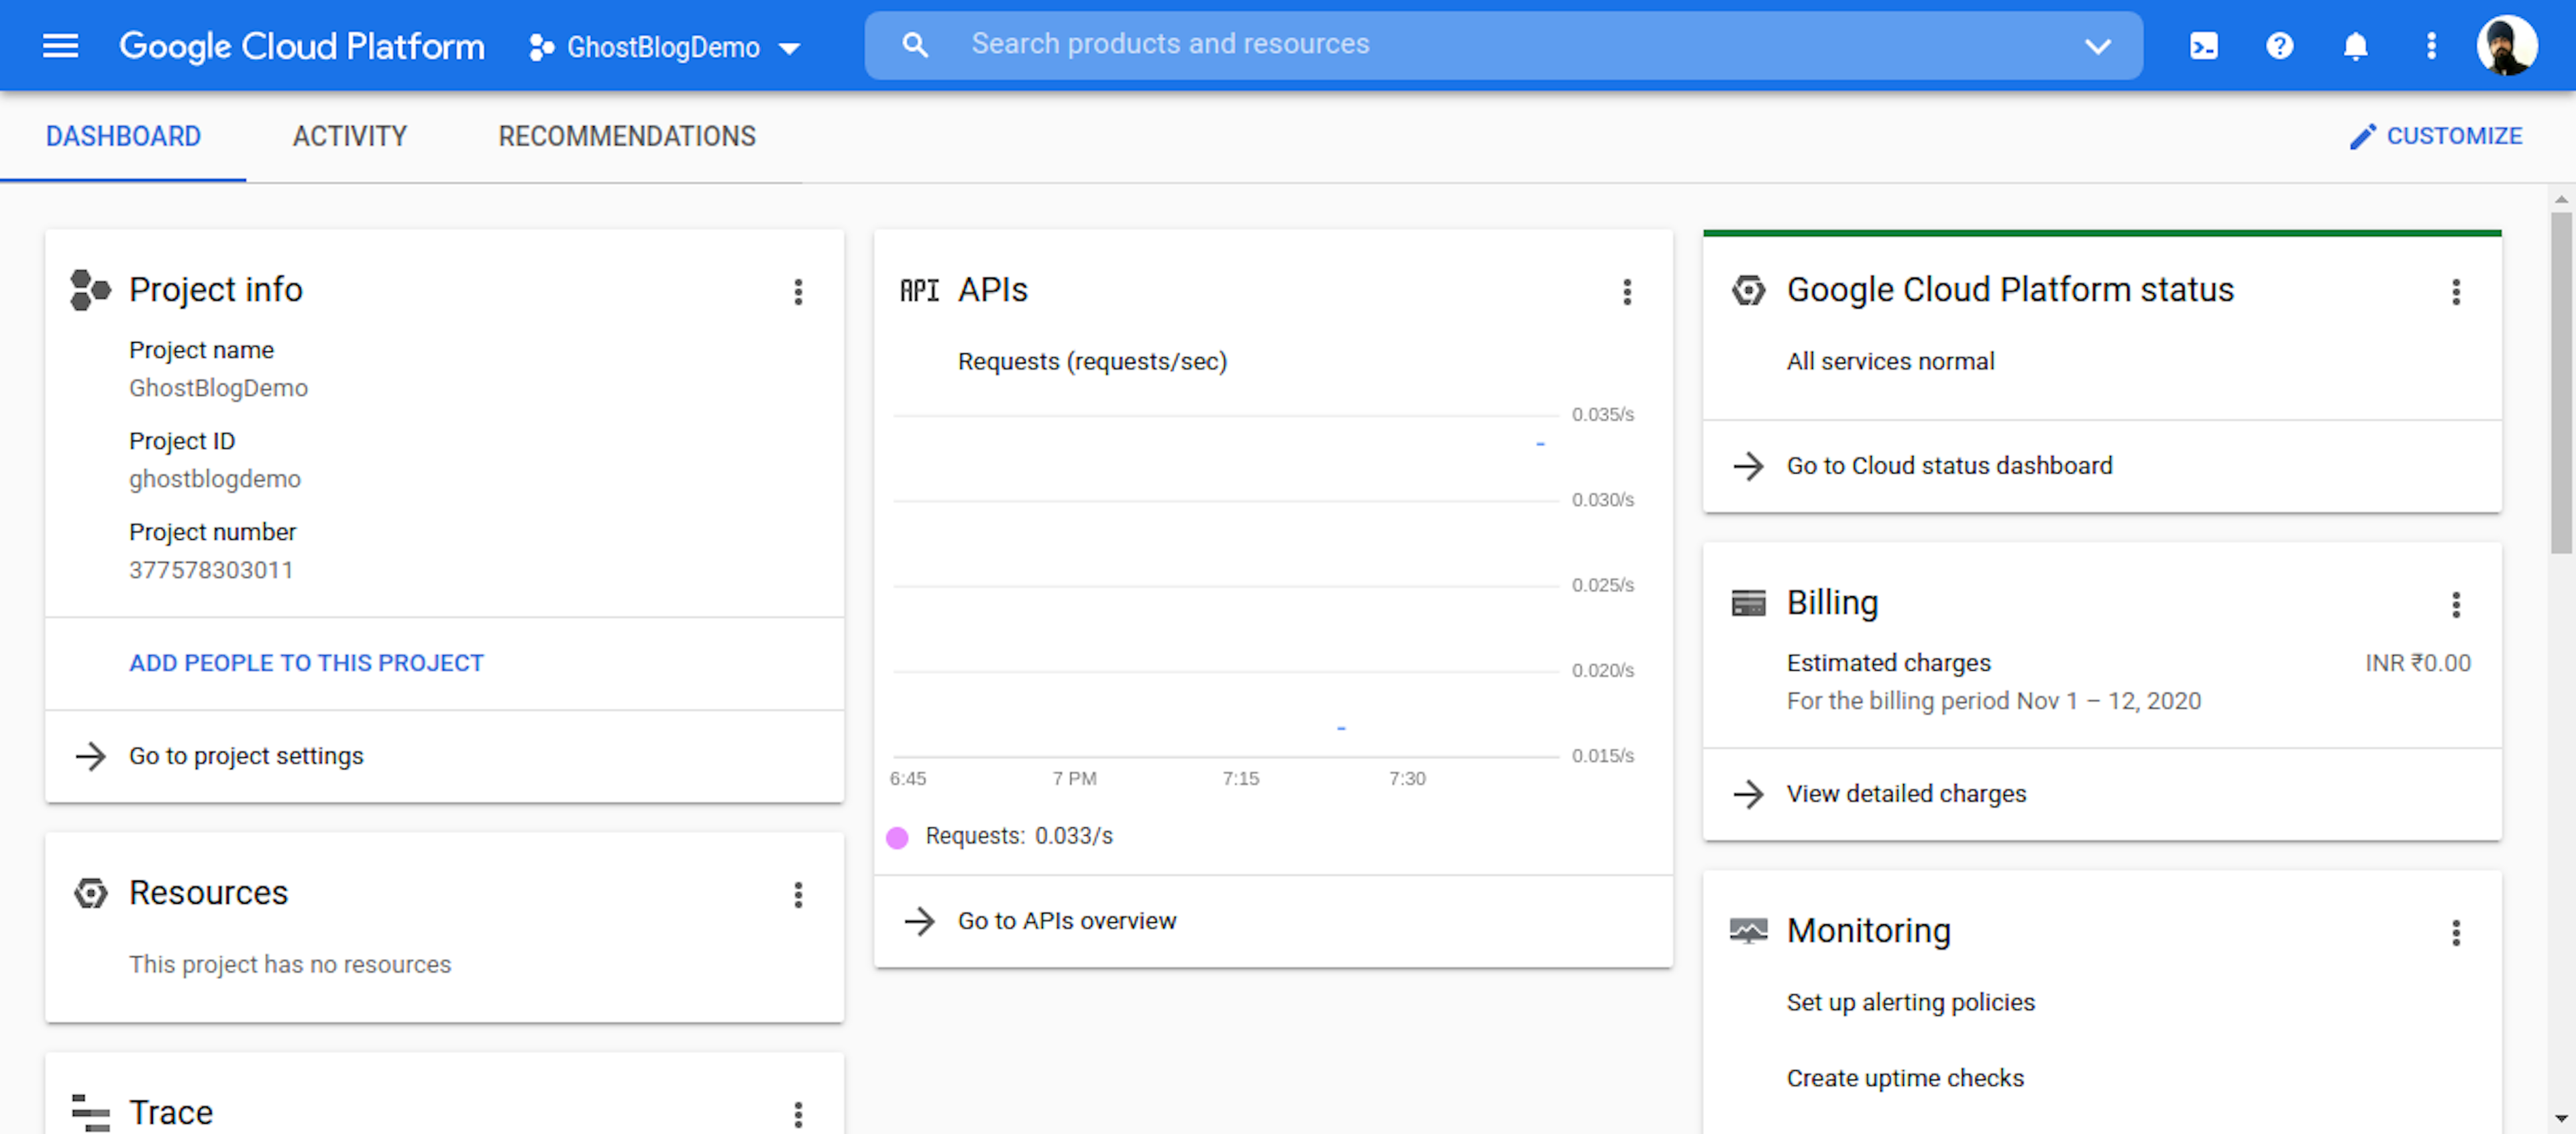
- Open Your Google Console Dashboard.
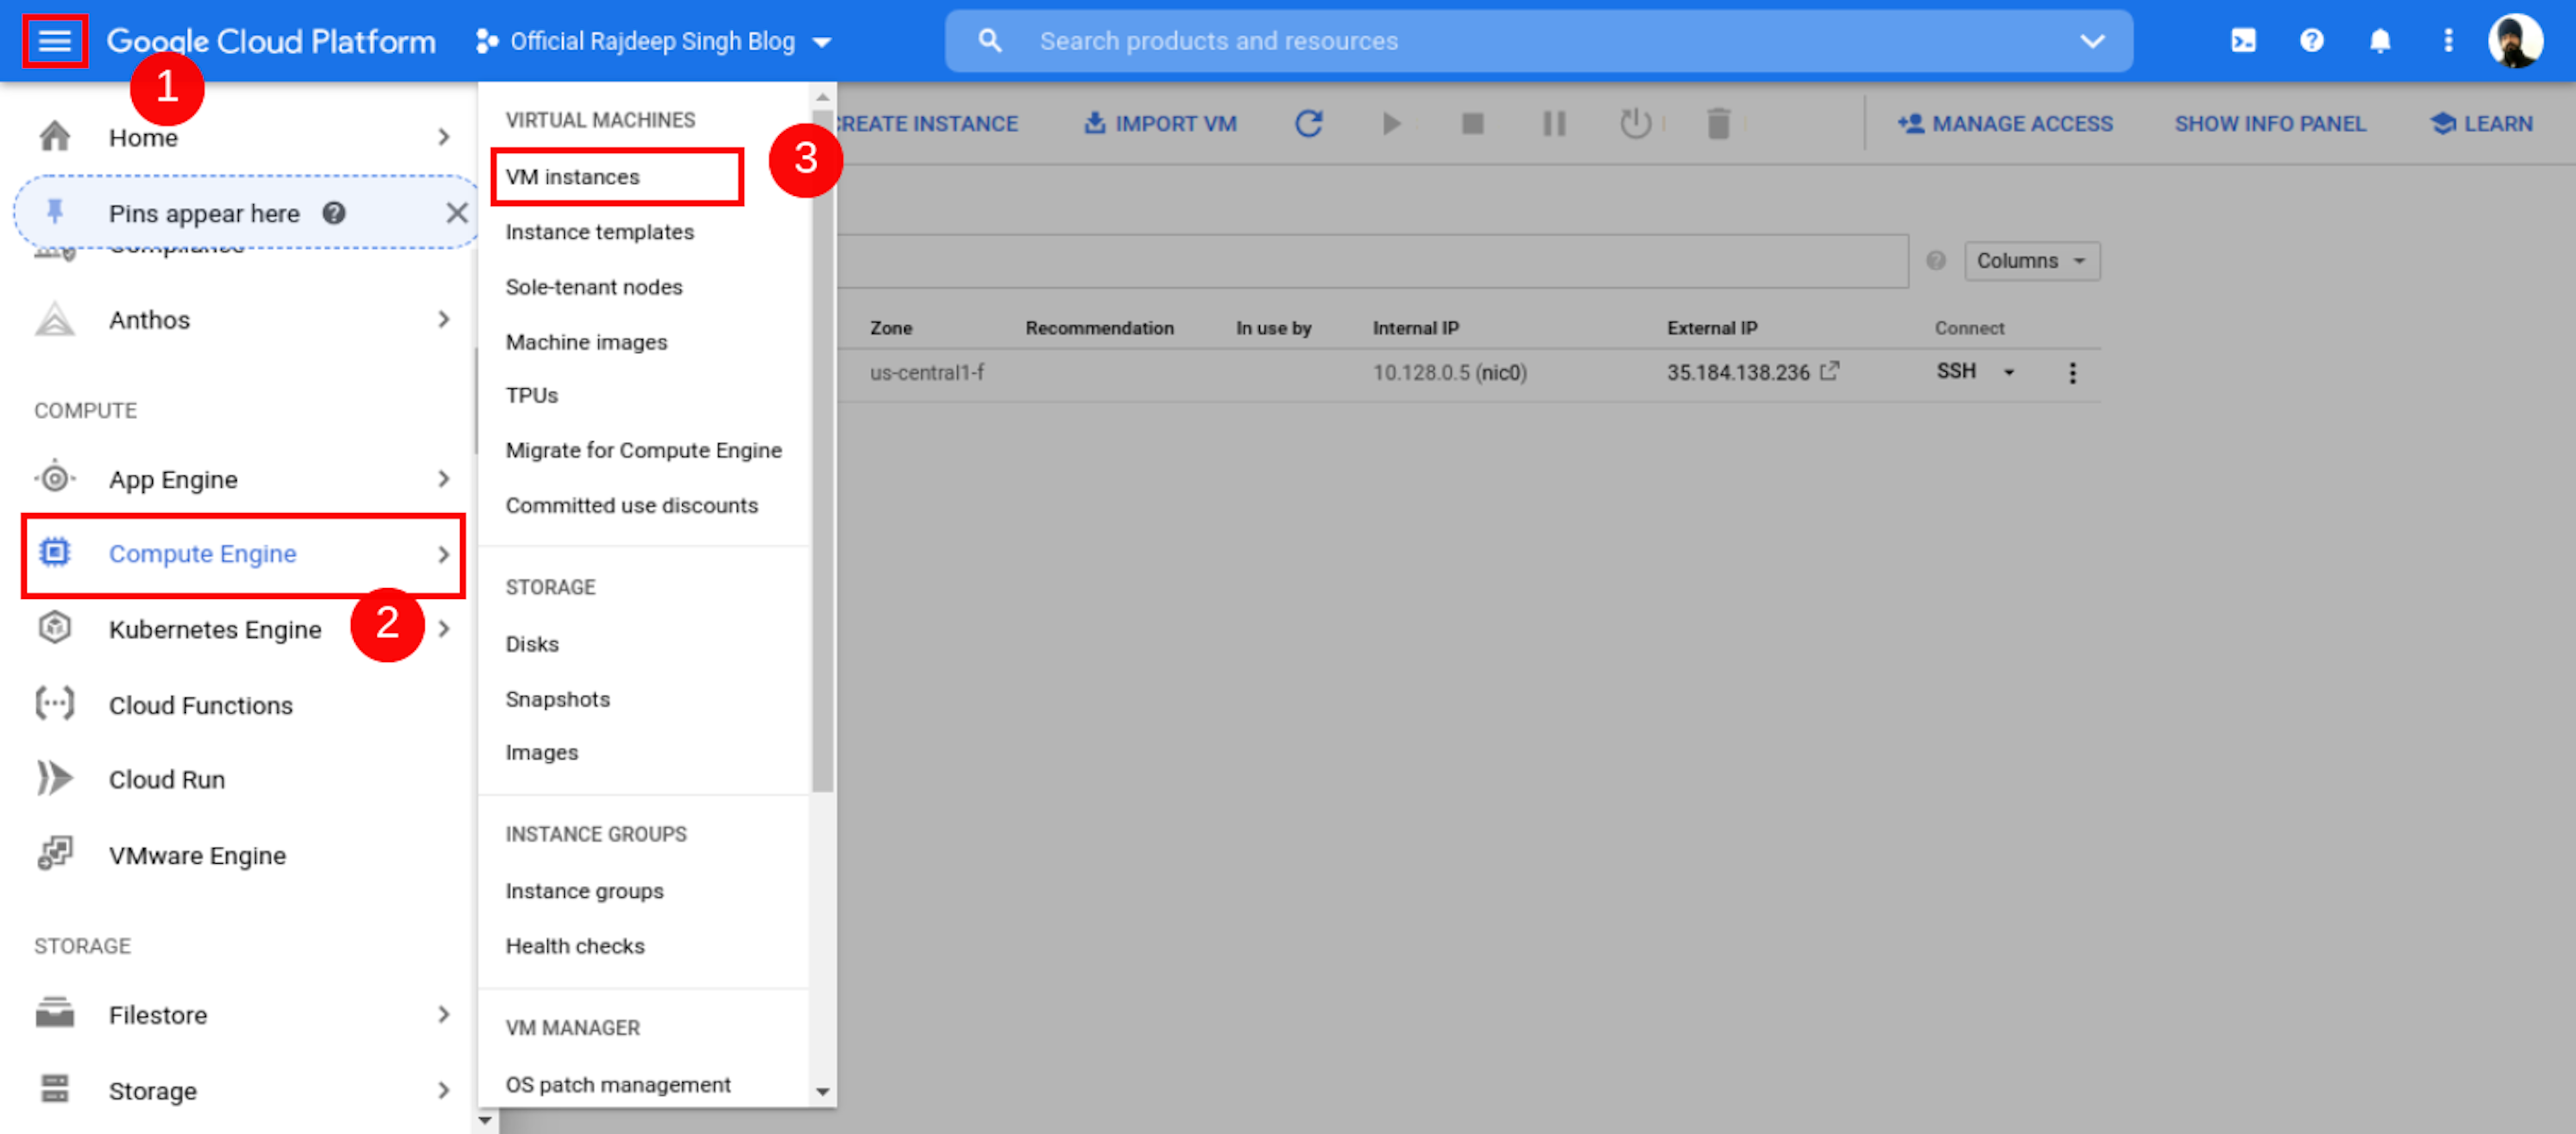
- Open Your Google Console Dashboard Then Click Top Left Conner humber icon. Click Compute Engine, Select VM Instance, Then Your VM Instance Page Open.
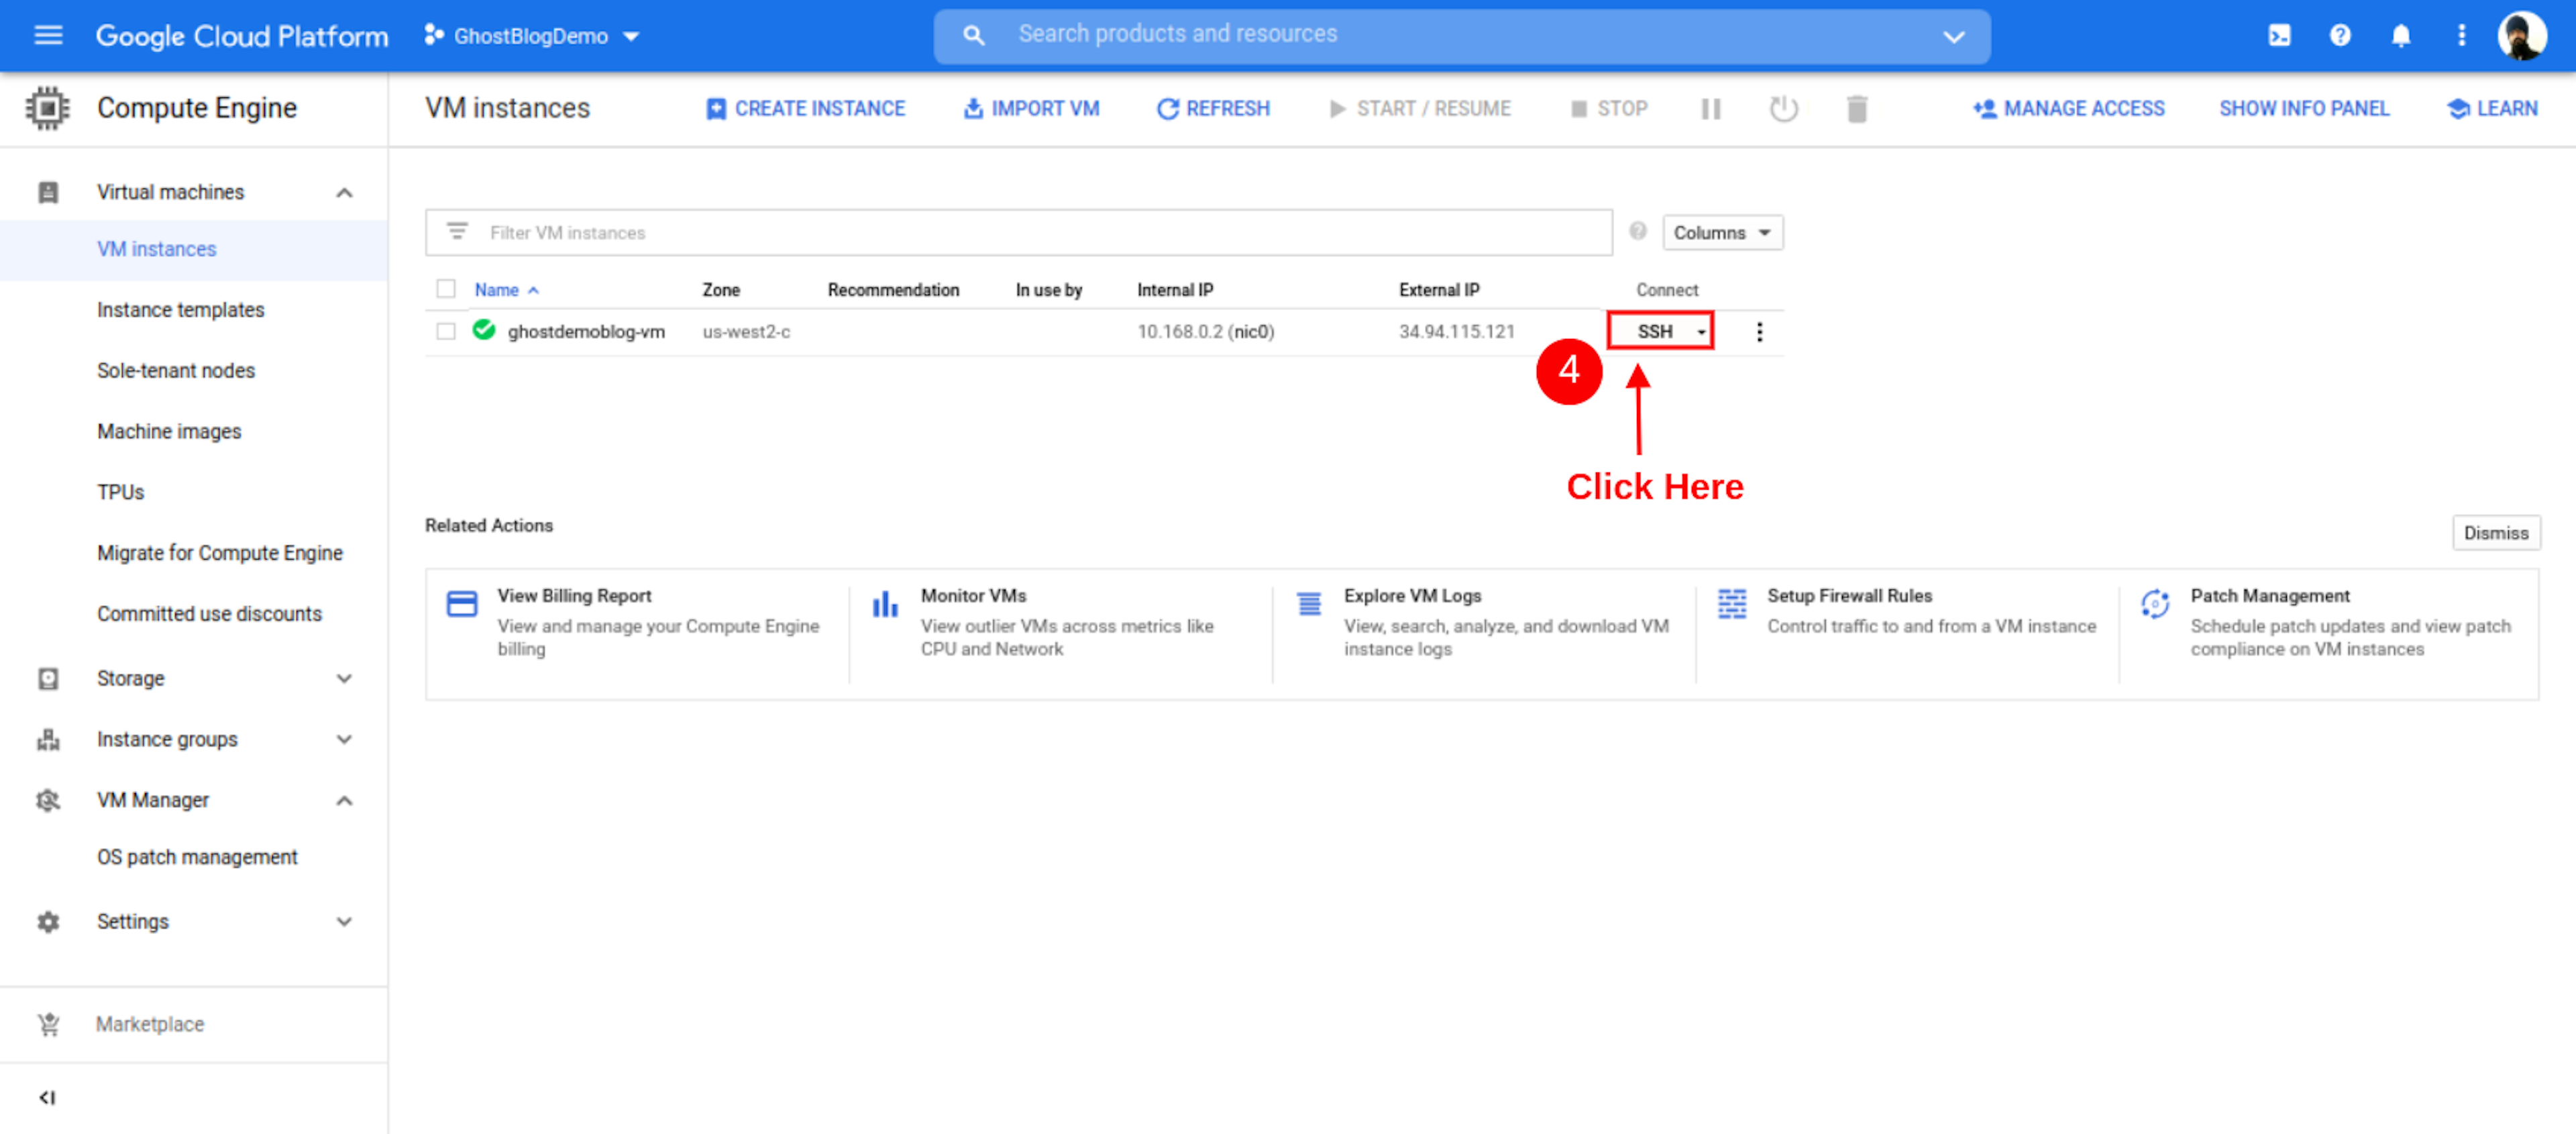
- After the Open Instance page, click SSH Button.
- After Open Your Instance Page. Then Click SSH Button. Some You See Open New Window In button Side you See Your SSH terminal Successfully Open.
Auto-Configure With Bitnami
The Bitnami bncert Tool is a command-line tool for configuring mainly HTTPS certificates on Your Website. The Bitnami bncert Tool also provides some common features such as automatic renewals and redirection (e.g., HTTP to HTTPS).
This tool is located in the installation directory of the stack at
/opt/bitnami.
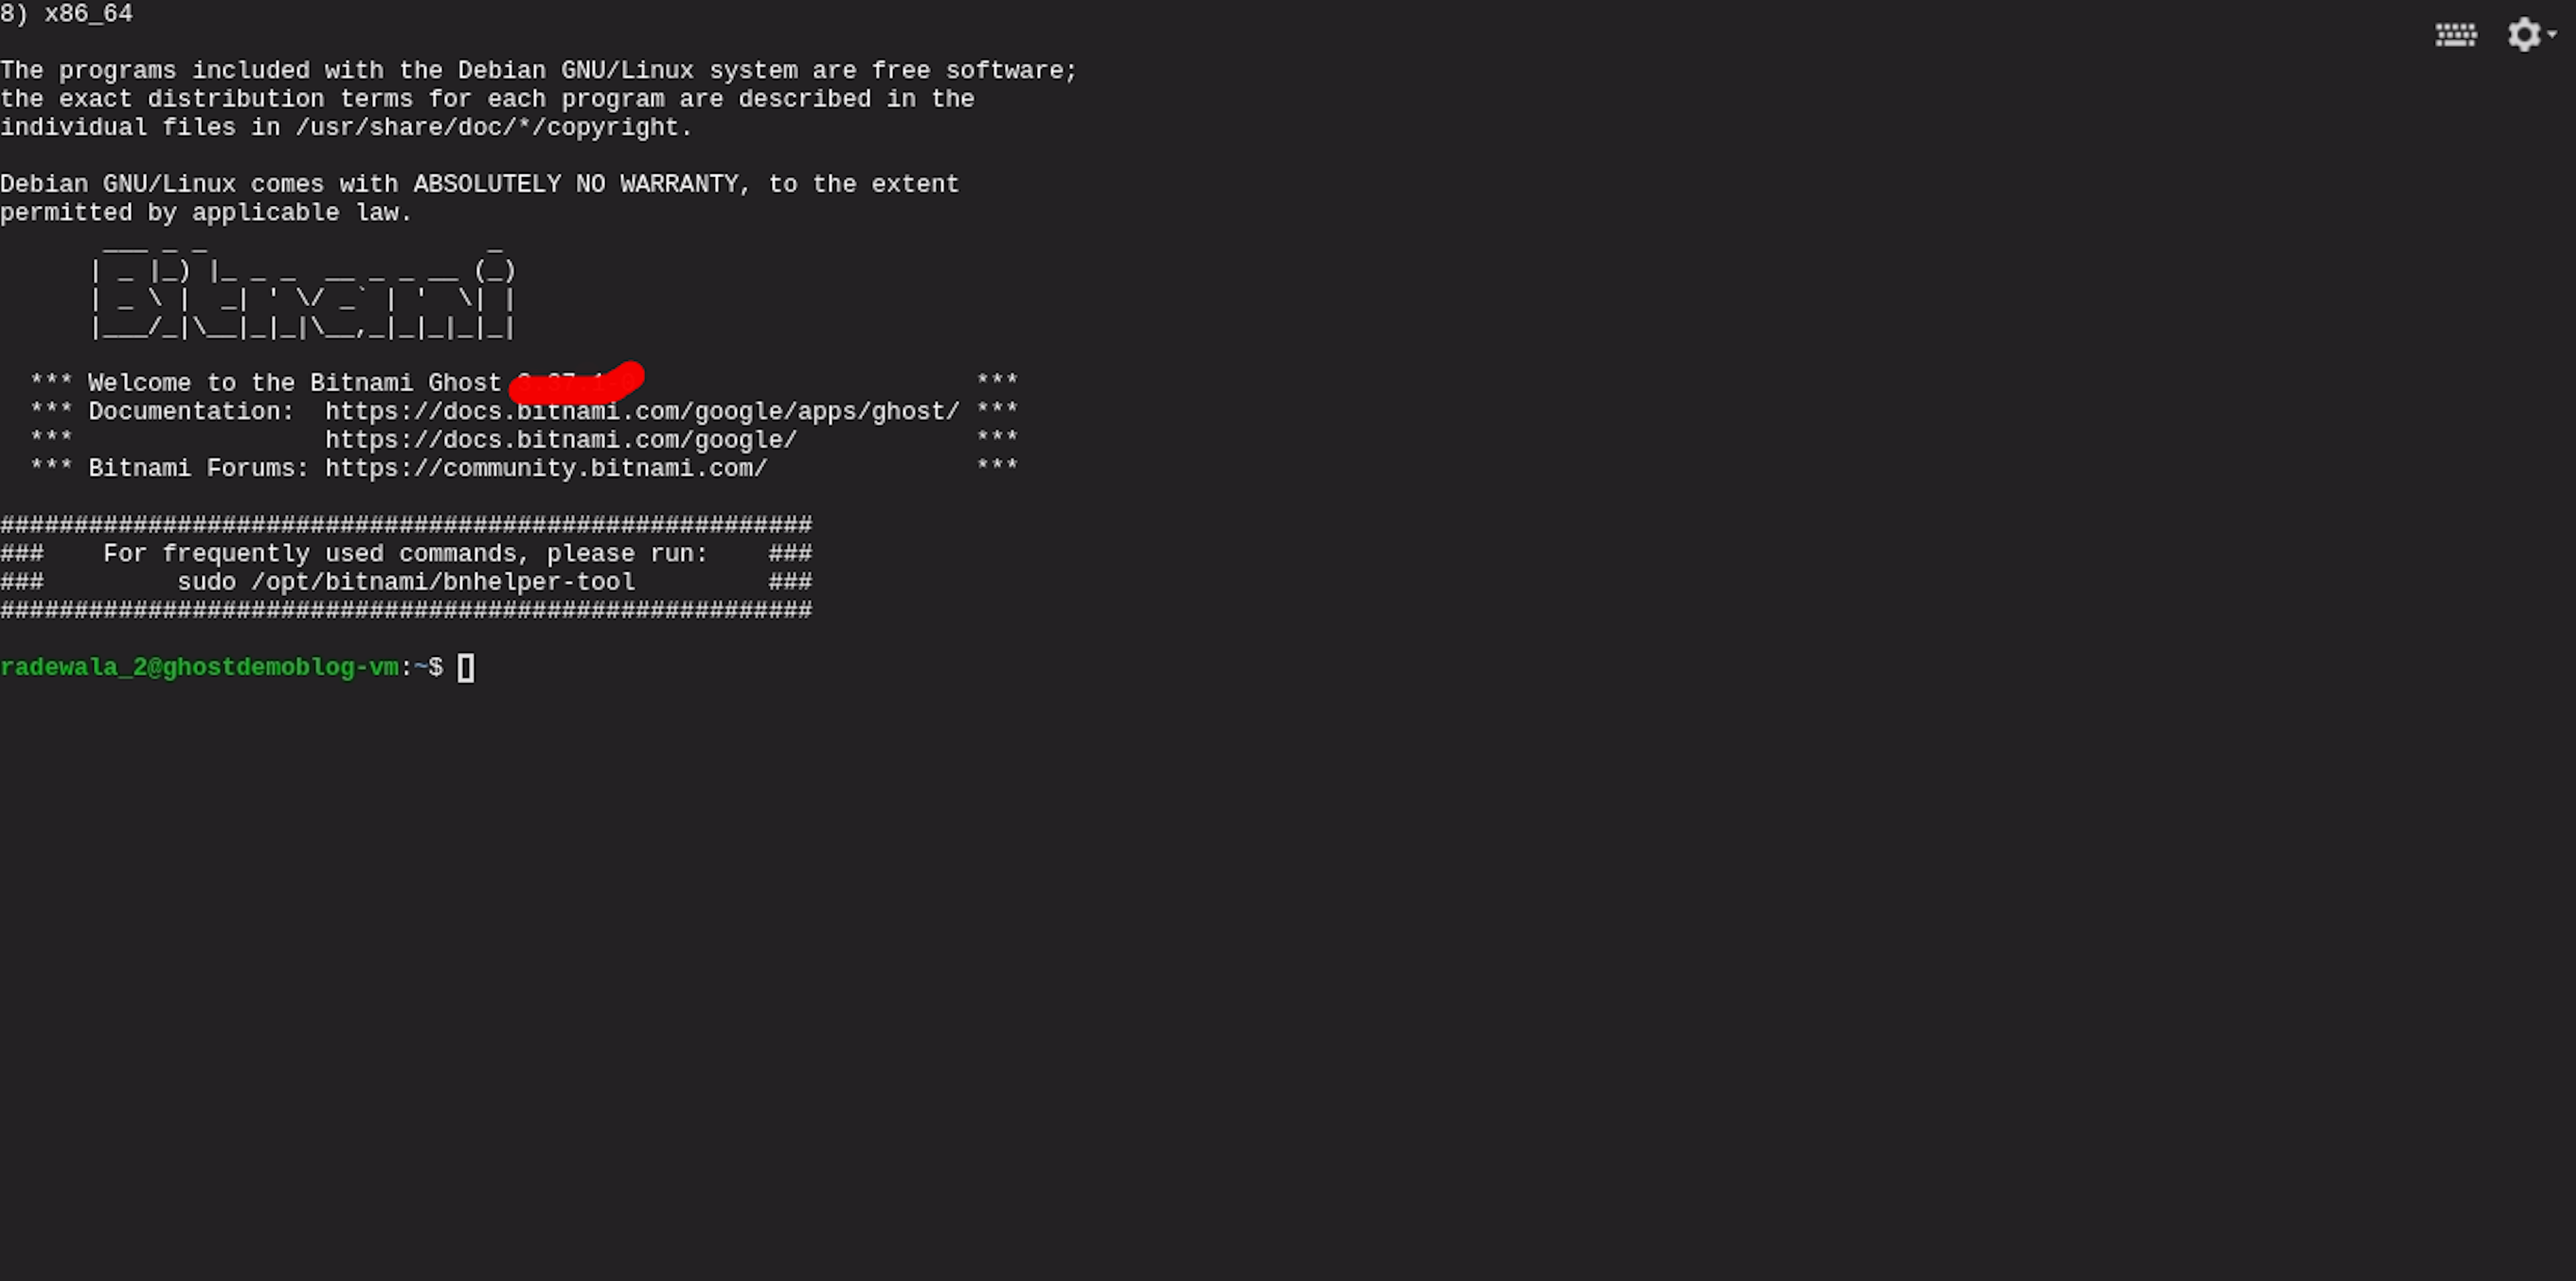
sudo /opt/bitnami/bncert-toolFirstly Paste Cmd In Your SSH Terminal Click To Enter. After bncert-tool Ask you Information.
- Enter Your Domain List[]: officialrajdeepsingh.dev www.officialrajdepsingh.dev
- Enable http to https redirection [y/n]:y
- Enable non www to www redirection [y/n]:y
- Enable www to non-www redirection [y/n]:n
- you agree to these change [y/n]:y
- e-mal address []: enter your email here
- do you agree to let's encrypt subscriber agreement? [y/n]:y
- Press enter : Click enter Button
If You Don't Understand, Then Follow Youtube Video. All Steps Same:
Conclusion
If You Follow My article.You Definite Configure SSL Certificate In Ghost CMS. If you have Any Problems or Errors, Contact Me. I try to help and solve your problem.