Start your portfolio or blog website with next.js, nextra, MDX, and section blog theme in less than five minutes, even if you are a beginner or pro developer.
Next.js is a React.js-based open-source framework. You can use it to build modern small to large-scale websites using server-side rendering and static website generation.
Nextra is a Next.js-based open-source framework. Nextra is a content-focused tool for static site generation. With Nextra, you can quickly build Markdown-based content using the Nextra theme.
I built my own nextra-theme using modern UI and tools. I named it the section blog theme. It's based on React.js, Nextjs, Typescript, Radix UI, Shadcn UI, and Tailwind CSS.
All the source code are available on GitHub. You can also check out the live demo website.
The section blog theme is a nextra-based theme I built that I maintain. You can use it to create a portfolio website or a personal blog.
The theme has some helpful built-in features:
- SEO Support
- Inbuilt dark and light mode
- Inbuilt Search functionality
- Navigation functionality
- Multiple Layout Support
- Multiple Theme Support
- Easy to customize
To get started using Next.js, Nextra, and the section blog theme, you'll need the following:
- Latest Node version
- Node package manager (NPM, Yarn, or PNPM)
- Basis knowledge of React, Next, and MDX (Markdown).
Here are the steps you'll need to follow to install and configure the section blog theme in Nextra and Next.js:
- Create a new project with Next.js.
- Install Nextra and the section blog theme
- Configure Nextra and the section blog theme
- Define the layout
- How to choose different themes
- Conclusion
Create a New Project with Next.js
To get started, you'll need to create a fresh Next project. You can do that with the create next app CLI using NPM, yarn, or pnpm.
npx create-next-app@latest
# or
yarn create next-app
# or
pnpm create next-app
During installation, the Create Next App CLI will ask you some questions. Nextra can't support app routes, so you'll need to select the page route instead.
What is your project named?  my-app
Would you like to use TypeScript?  No / Yes
Would you like to use ESLint?  No / Yes
Would you like to use Tailwind CSS?  No / Yes
Would you like to use `src/` directory?  No / Yes
Would you like to use App Router? (recommended)  No / Yes
Would you like to customize the default import alias (@/*)?  No / Yes
I choose pnpm to create the Next app, and the command output looks like this:
pnpm create next-app@latest
.../share/pnpm/store/v3/tmp/dlx-55250    |   +1 +
.../share/pnpm/store/v3/tmp/dlx-55250    | Progress: resolved 1, reused 1, downloaded 0, added 1, done
✔ What is your project named? … section-theme-blog
✔ Would you like to use TypeScript? … No / Yes
✔ Would you like to use ESLint? … No / Yes
✔ Would you like to use Tailwind CSS? … No / Yes
✔ Would you like to use `src/` directory? … No / Yes
✔ Would you like to use App Router? (recommended) … No / Yes
✔ Would you like to customize the default import alias (@/*)? … No / Yes
✔ What import alias would you like configured? … @/*
Creating a new Next.js app in /home/officialrajdeepsingh/opensource/section-theme-blog.

Using pnpm.

Initializing project with template: default-tw

Installing dependencies:
- react
- react-dom
- next

Installing devDependencies:
- typescript
- @types/node
- @types/react
- @types/react-dom
- autoprefixer
- postcss
- tailwindcss
- eslint
- eslint-config-next

Packages: +350
++++++++++++++++++++++++++++++++++++++++++++++++++++++++++++++++++++++++++++++++++++++++++++++++++++++++++++++++++++++++++++++++++++++++++++++++++++++++++++++++++++++++++++++++++++++++++++++++++++++++++++++++++++++++++++++++++++++++++++
Progress: resolved 358, reused 347, downloaded 3, added 350, done

dependencies:
+ next 14.0.4
+ react 18.2.0
+ react-dom 18.2.0

devDependencies:
+ @types/node 20.11.0
+ @types/react 18.2.47
+ @types/react-dom 18.2.18
+ autoprefixer 10.4.16
+ eslint 8.56.0
+ eslint-config-next 14.0.4
+ postcss 8.4.33
+ tailwindcss 3.4.1
+ typescript 5.3.3

Done in 32.8s
Initialized a git repository.

Success! Created section-theme-blog at /home/officialrajdeepsingh/opensource/section-theme-blog
Install Nextra and the Section Blog Theme
The next step is to install the nextra and section-blog-theme packages in your project. Run the following command:
npm install nextra section-blog-theme
# or
yarn add nextra section-blog-theme
# or
pnpm add nextra section-blog-theme
Install the nextra and section-blog-theme packages.
The nextra and section blog theme packages should be installed successfully in your project. The next step is configuring Nextra and the section blog theme together in Next.js.
Configure Nextra and the Section Blog Theme.
To configure the section blog theme, nextra in nextjs, follow these steps.
Steps
- Configure the section blog theme and nextra in the
next.config.tsfile. - Create
theme.config.jsxfile. - Rename the
_app.tsxto_app.mdx. - Import CSS.
- Create
theme.config.jsxfile.
Configure the section blog theme and nextra in the next.config.ts file.
Paste the following code into the next.config.ts file to configure the section blog theme in nextra.
const withNextra = require("nextra")({
  theme: "section-blog-theme",
  themeConfig: "./theme.config.jsx",
});

module.exports = withNextra();
Rename the app.tsx to app.mdx
The next step is to rename your app.tsx to app.mdx file.
// Rename _app.tsx to _app.mdx
export default function App({ Component, pageProps }) {
  return <Component {...pageProps} />
}
Import CSS
Lastly, import the section blog theme production CSS file inside the _app.mdx file. Copy the following code.
import "section-blog-theme/styles.css"Then paste into _app.mdx file.
import "section-blog-theme/styles.css"
export default function App({ Component, pageProps }) {
  return <Component {...pageProps} />
}
Create a theme.config.jsx file.
Lastly, create a new theme.config.jsx file in your project root level and paste the following code.
const themeConfig = {
    settings: {
      title: "Start your blog or portfolio using MDX, Next.Js, and Nextra.",
      description: "Section blog theme is build with Nextjs and tailwind css.",
      SiteURL: "https://officialrajdeepsingh.dev"
    },
     SocialLinks: [
      {
        name: "github",
        url: "https://github.com/frontendweb3/section-theme-blog",
      },
    ],
    Logo: {
      logo: (
        <>
          <svg
            width="36"
            height="36"
            viewBox="0 0 434 420"
            xmlns="http://www.w3.org/2000/svg"
          >
            <path
              fillRule="evenodd"
              clipRule="evenodd"
              fill="currentColor"
              d="M226.569 66.5458C222.348 59.1514 211.686 59.1514 207.464 66.5458L63.4636 318.753C59.2767 326.086 64.5719 335.207 73.0163 335.207H361.018C369.462 335.207 374.757 326.086 370.57 318.753L226.569 66.5458ZM217.017 270.333C235.355 270.333 250.221 256.557 250.221 239.563C250.221 222.57 235.355 208.793 217.017 208.793C198.679 208.793 183.813 222.57 183.813 239.563C183.813 256.557 198.679 270.333 217.017 270.333Z"
            />
          </svg>
        </>
      ),
      link: "/",
      target: "_blank",
    },
    PrimaryNavigation: [
      {
        href: "/",
        title: "Home",
      },
      {
        href: "/posts",
        title: "Blog",
      },
      {
        href: "/about",
        title: "About",
      }
    ],
    SecondaryNavigation: [
      {
        href: "/disclaimer",
        title: "Disclaimer",
      },
      {
        href: "/privacy-policy",
        title: "Privacy policy",
      },
      {
        href: "/contact",
        title: "Contact",
      },
    ],
  };
  export default themeConfig;
Paste the following code into index.mdx file.
---
type: home
title: Hello world
---
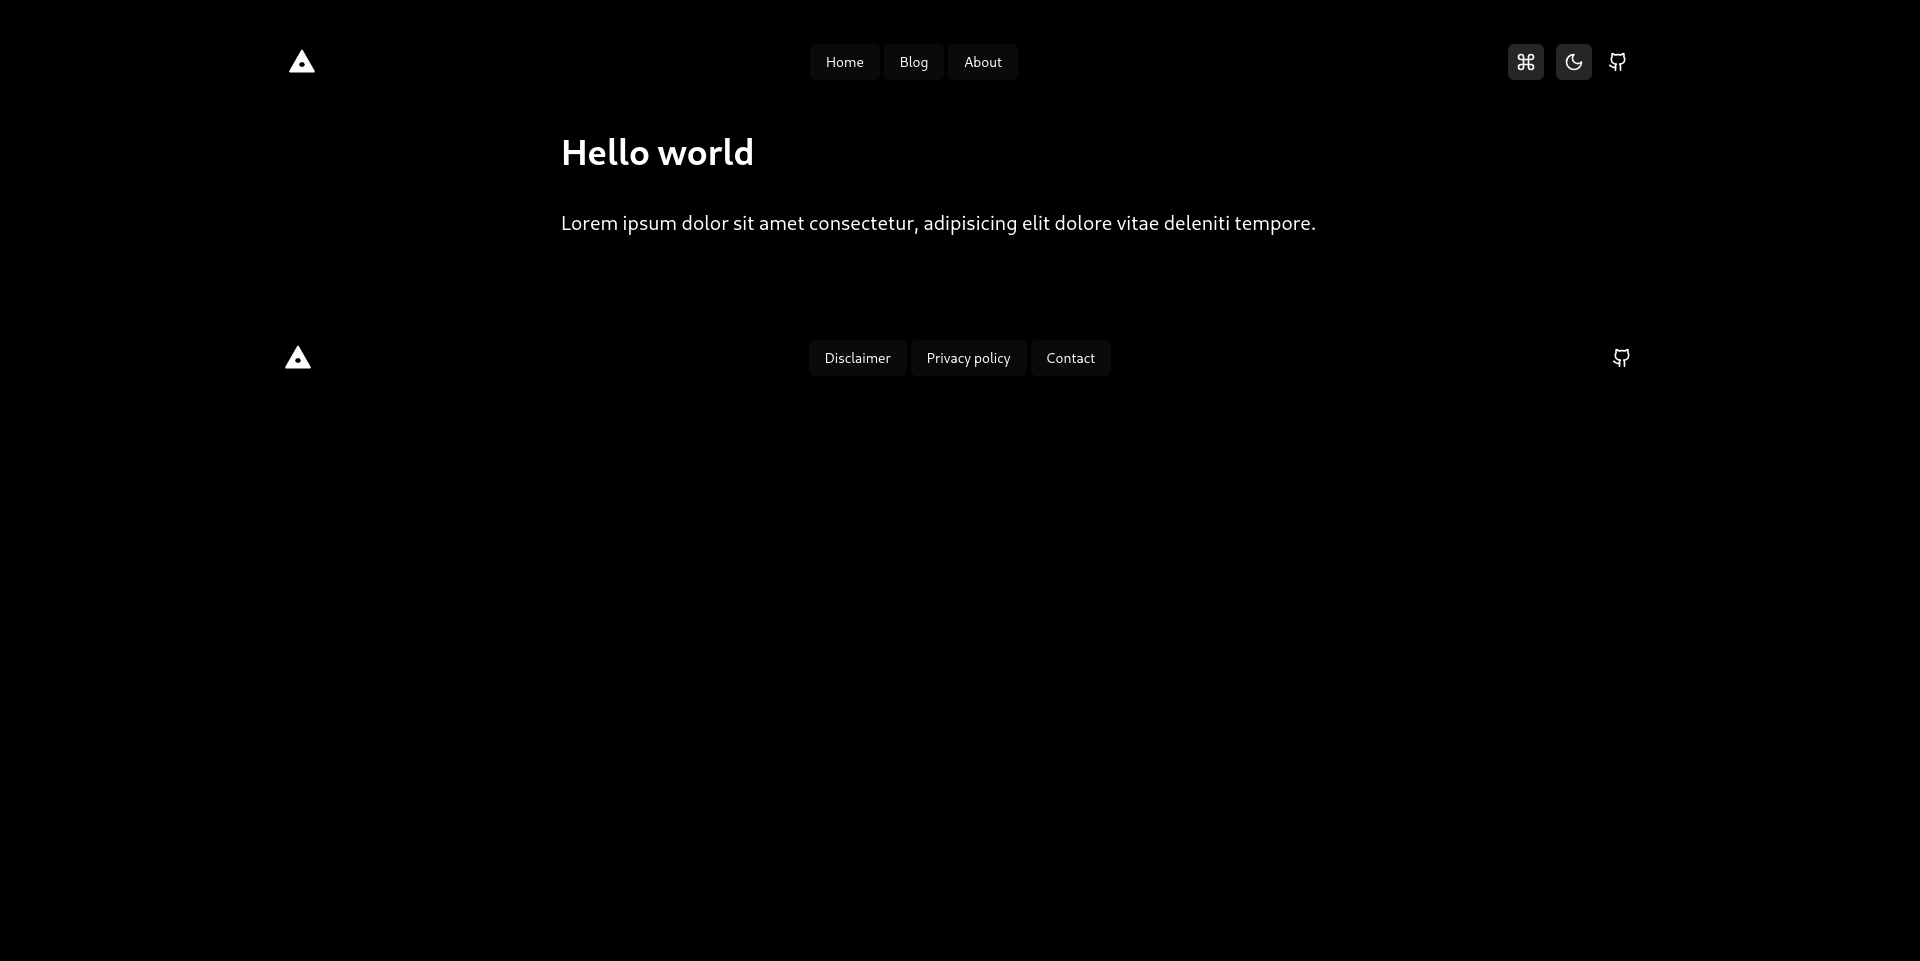
## Hello world
Lorem ipsum dolor sit amet consectetur, adipisicing elit dolore vitae deleniti tempore.Then start your development server using NPM or yarn and pnpm.
npm run dev
# or
yarn dev
# or
pnpm dev
After your running development, your website looks like this in the browser.
Define Layout
The section blog theme uses type metadata in Markdown to define the layout structure. In the section blog theme, there are six types of layouts available.
Layouts:
Home Layout
Home Layout is used to create a home or root page in your blog. When somebody opens your website in the browser. They see your home page.
---
type: home
title: Hello world
---

## Hello world

Lorem ipsum dolor sit amet consectetur, adipisicing elit dolore vitae deleniti tempore.
Your home page looks like this in the browser.
You even enhance, edit, or design your home page with tailwind CSS.
Page Layout
Page layout is used to create a new page in your blog, for example, an about or contact page on your site.
---
type: page
title: About Page
---
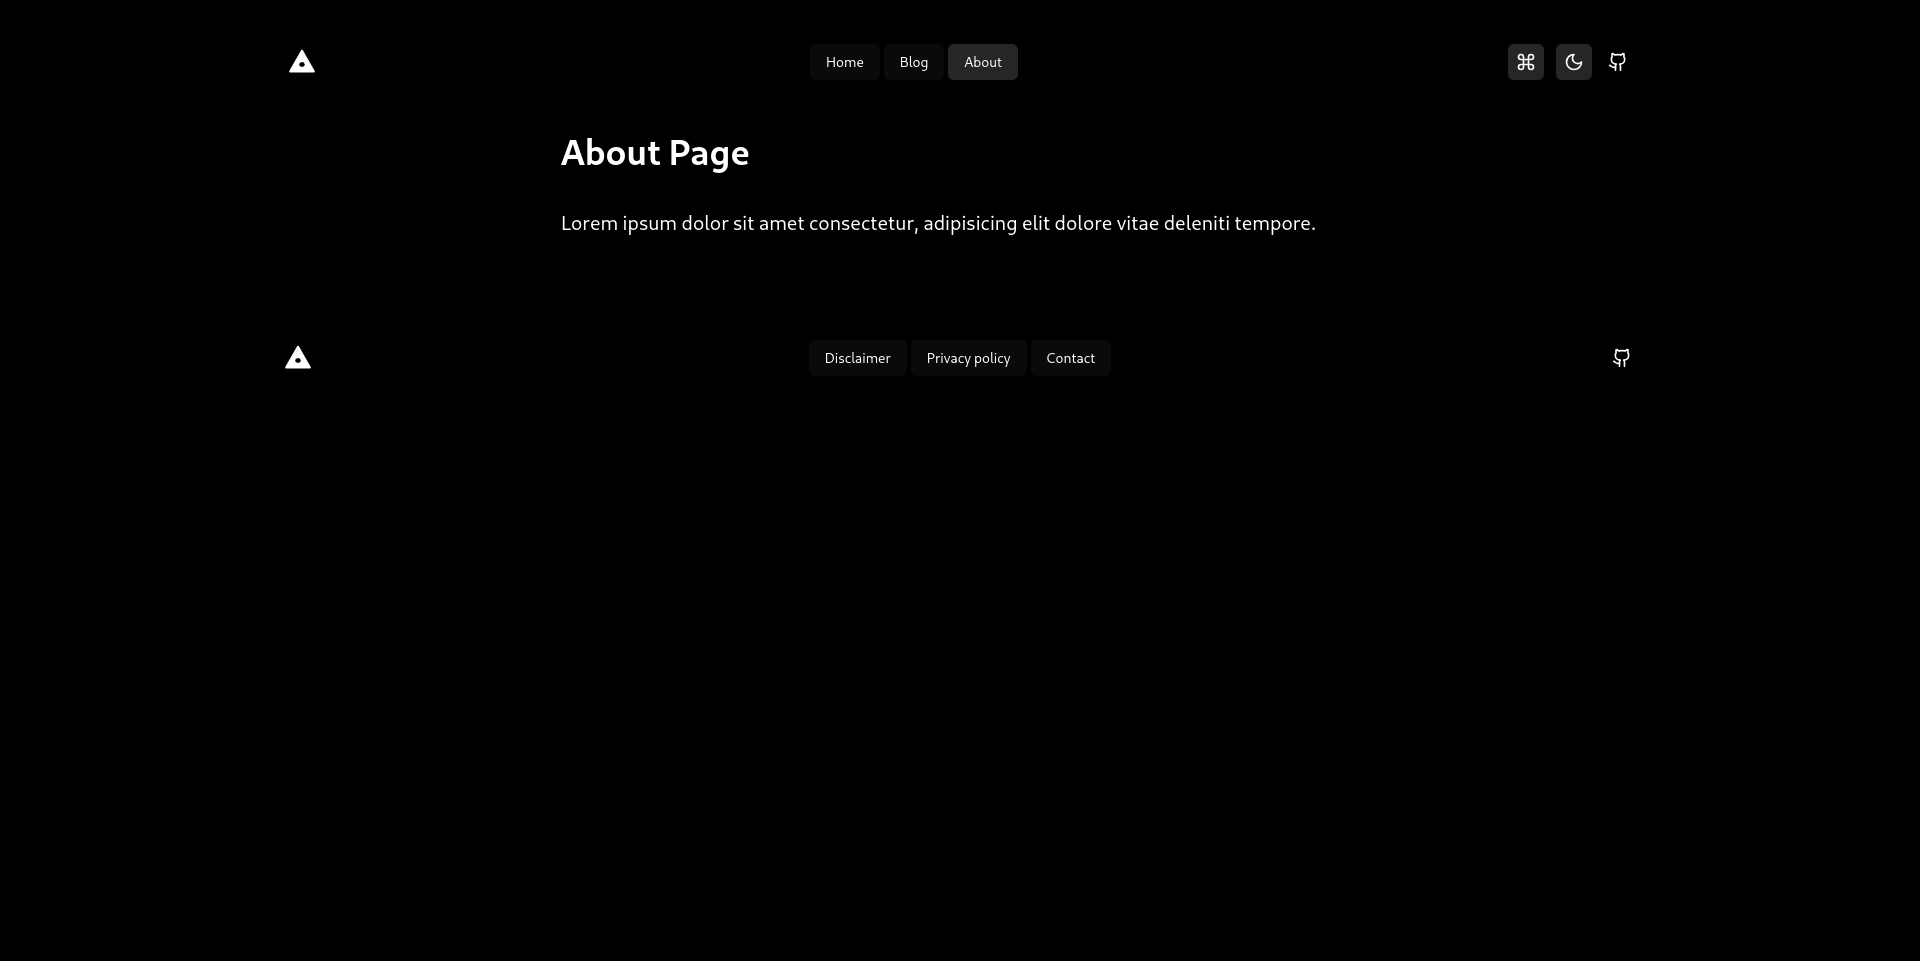
## About Page
Lorem ipsum dolor sit amet consectetur, adipisicing elit dolore vitae deleniti tempore. Your about page looks like it is in a browser.
Post Layout
Create a new post in the section blog theme, and you must pass additional type:post front matter property in the Markdown.
Make sure first to create a posts folder inside the project, then create a new src/pages/posts/how-to-fetch-the-data-in-nextjs.mdx post with mdx extension.
---
type: post
title: How to fetch theb data in nextjs?
description: fetch the data with nextjs.
date: 2022-11-15T08:14:33.826Z
tags:
  - Nextjs

image: /images/photographer.jpg
author: Rajdeep Singh
---

Fetch() API help to  access the data in next.js on every request.
Your post looks like this in the browser.
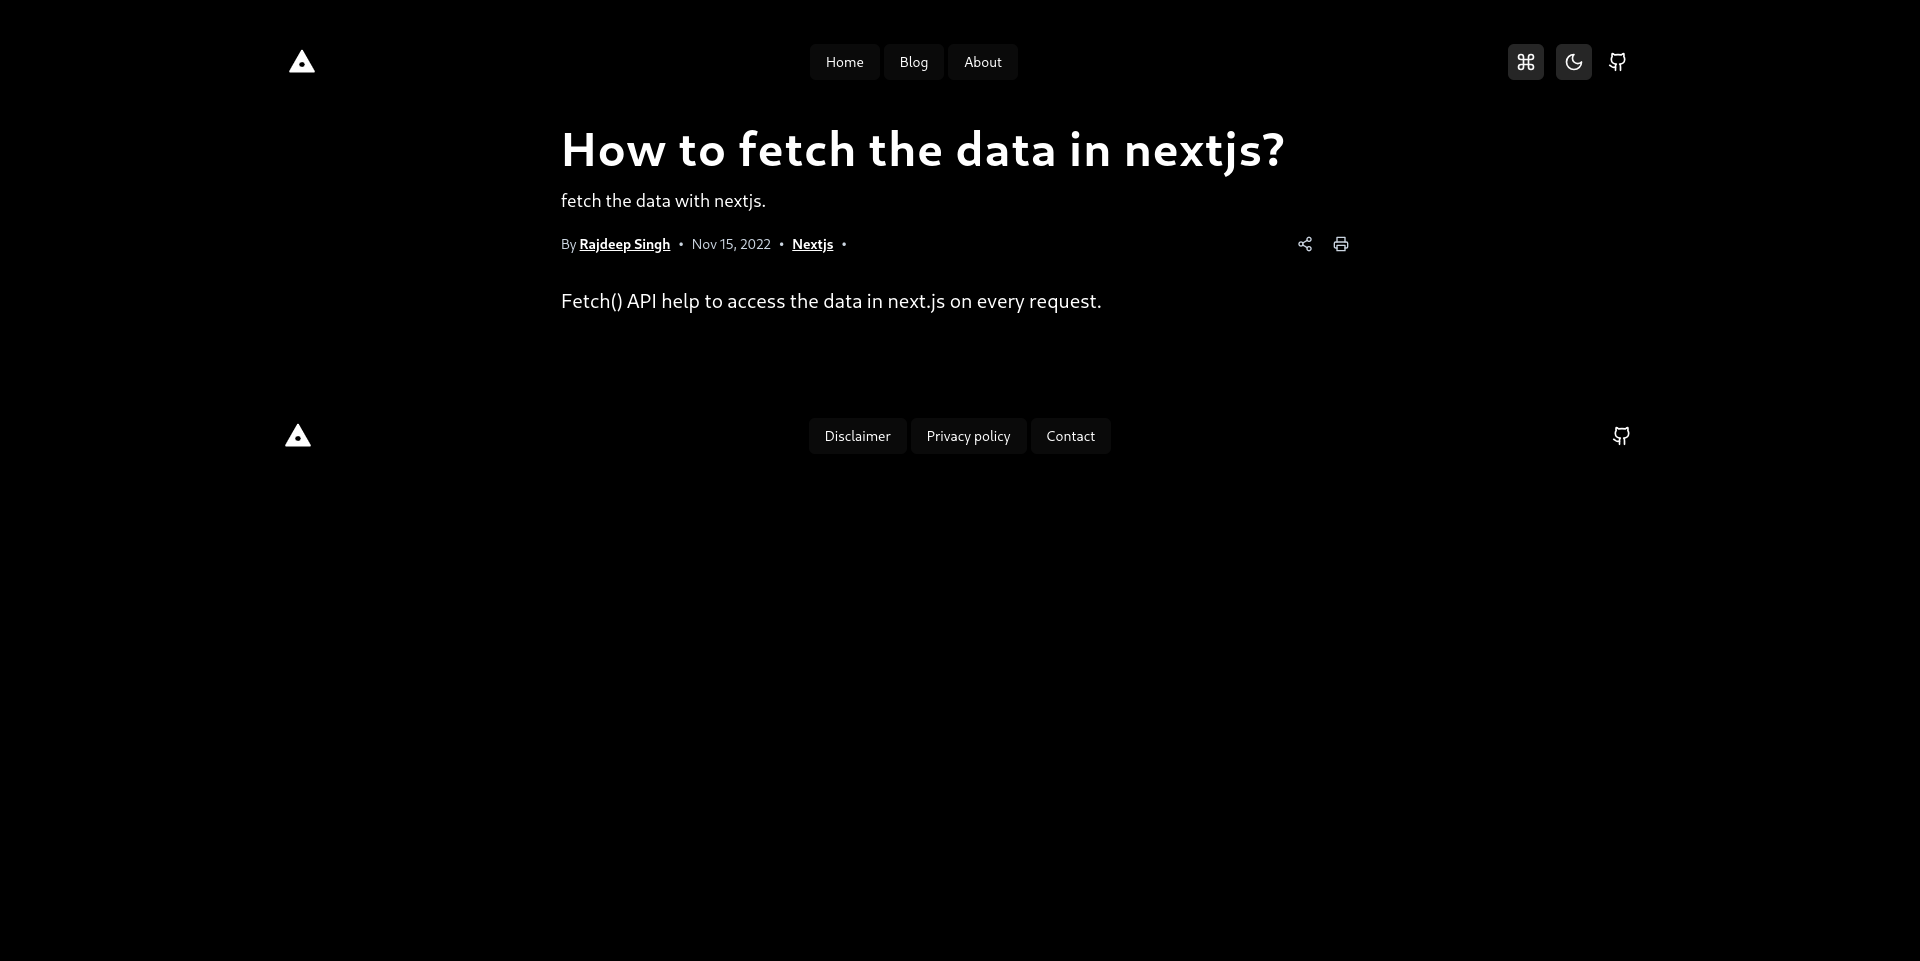
Your post looks like this in the browser.
Posts Layout
To create a posts list page in the section theme blog, you must create a src/pages/posts/index.mdx file and paste the following code inside the file.
---
type: posts
title: Lists All the articles
---
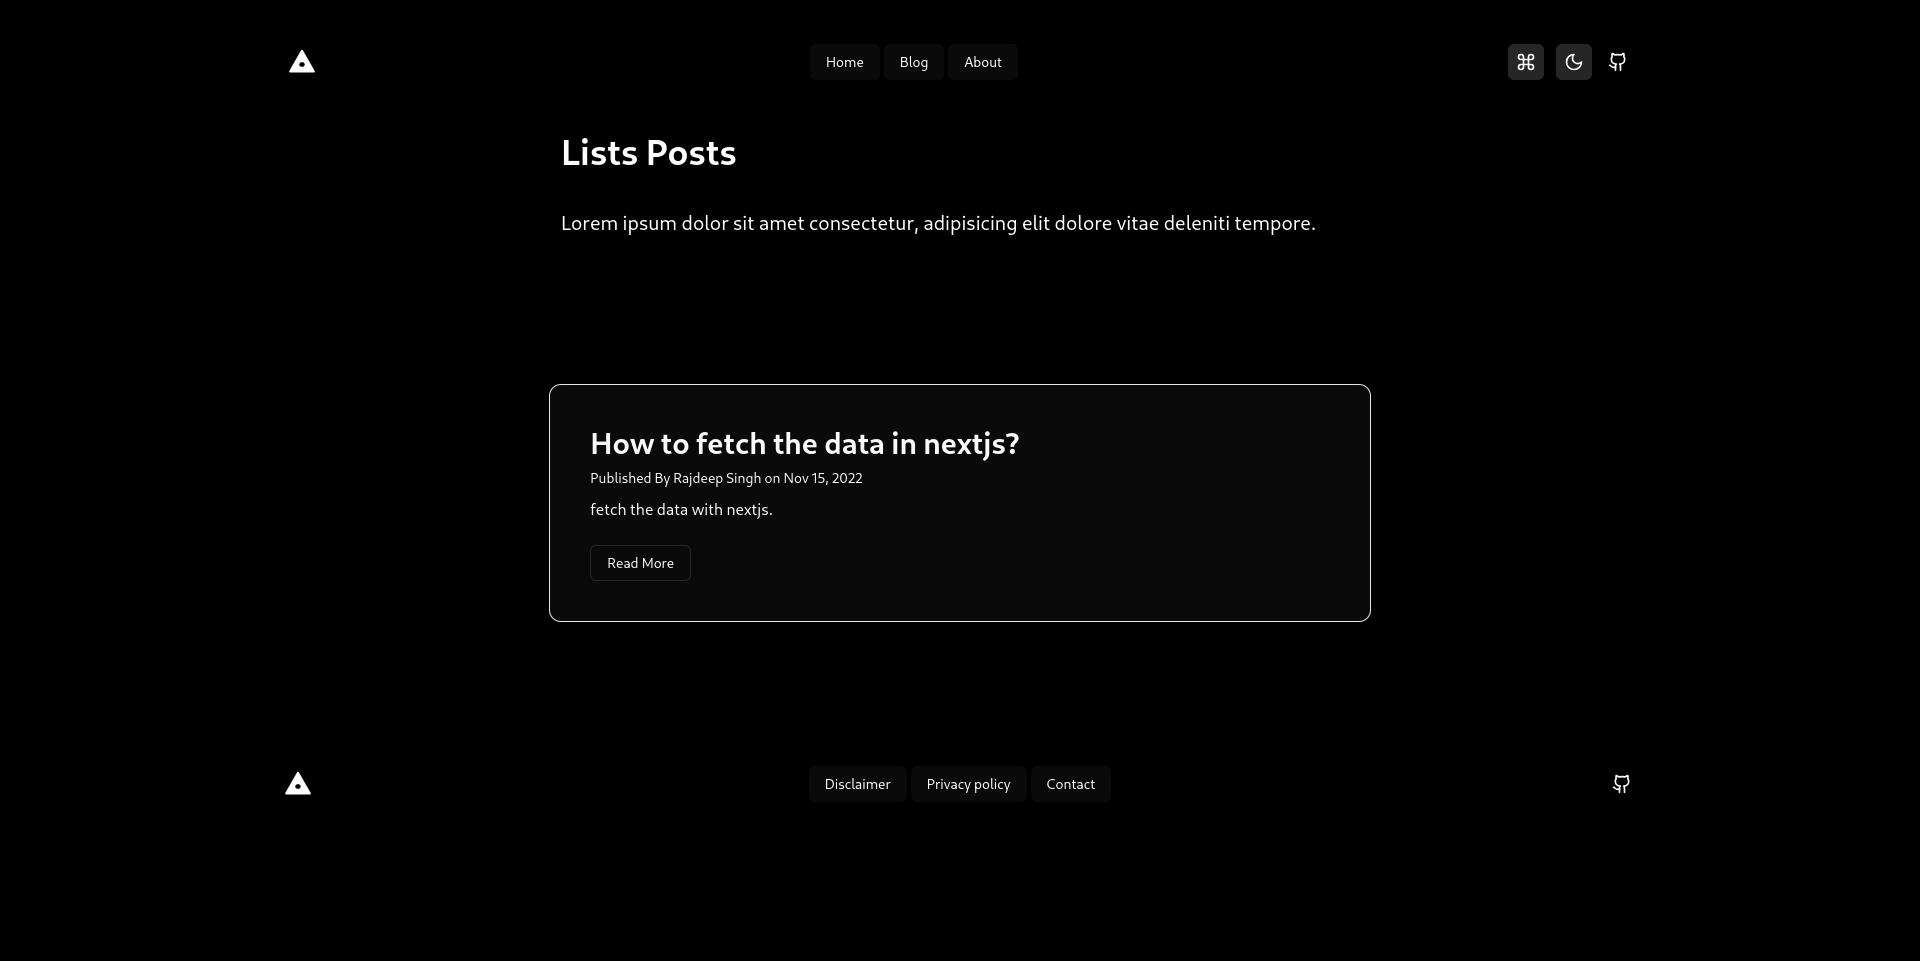
## Lists Posts
Lorem ipsum dolor sit amet consectetur, adipisicing elit dolore vitae deleniti tempore. Paste the following code into src/pages/posts/index.mdx file.
Your posts page looks like this in the browser.
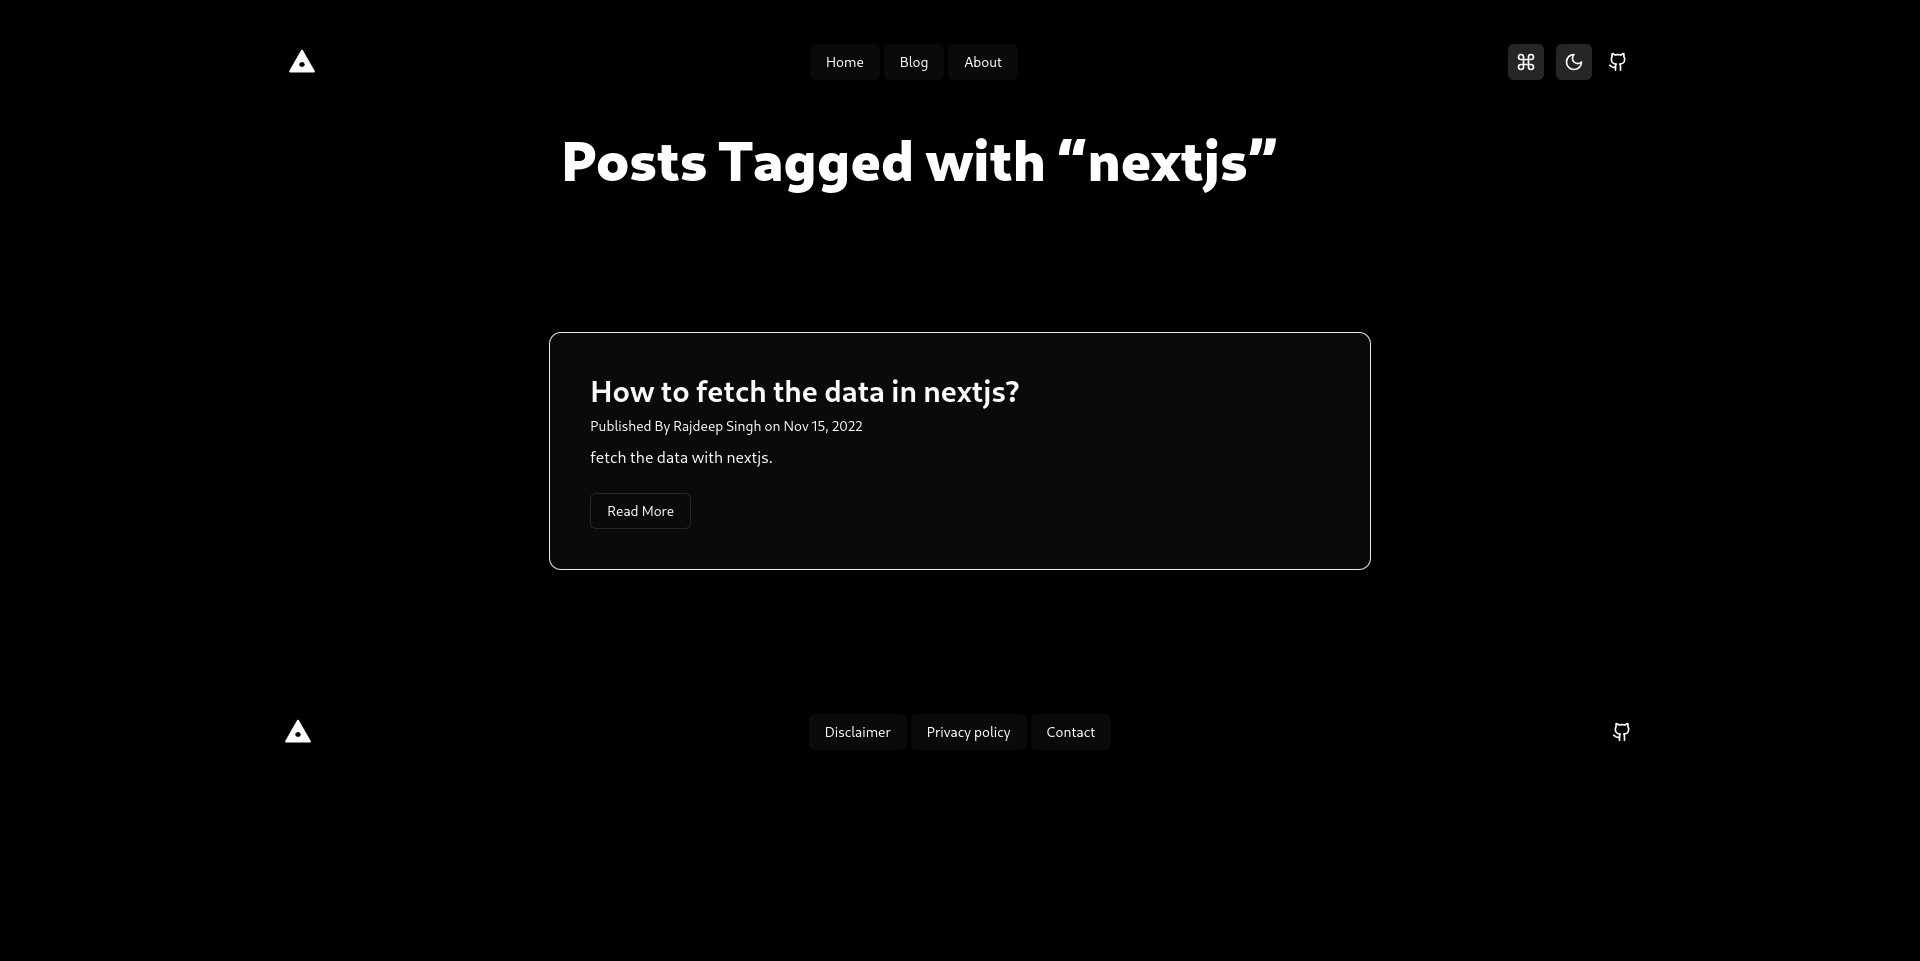
Tag Layout
To enable the tag on your blog, you need to create a new src/pages/tags/[tag].mdx file, and it generates a static tag page based on a tag that you define in your post metadata.
To enable the tag, then paste the following code into the src/pages/tags/[tag].mdxfile.
---
type: tag
---

import { TagName, TagTitle } from "section-blog-theme/Tag";

<TagTitle />

# Posts Tagged with “<TagName />”

export { getStaticProps, getStaticPaths } from "section-blog-theme/Tag";
Paste the following code into src/pages/tags/[tag].mdx file.
Your tag page looks like this in the browser.
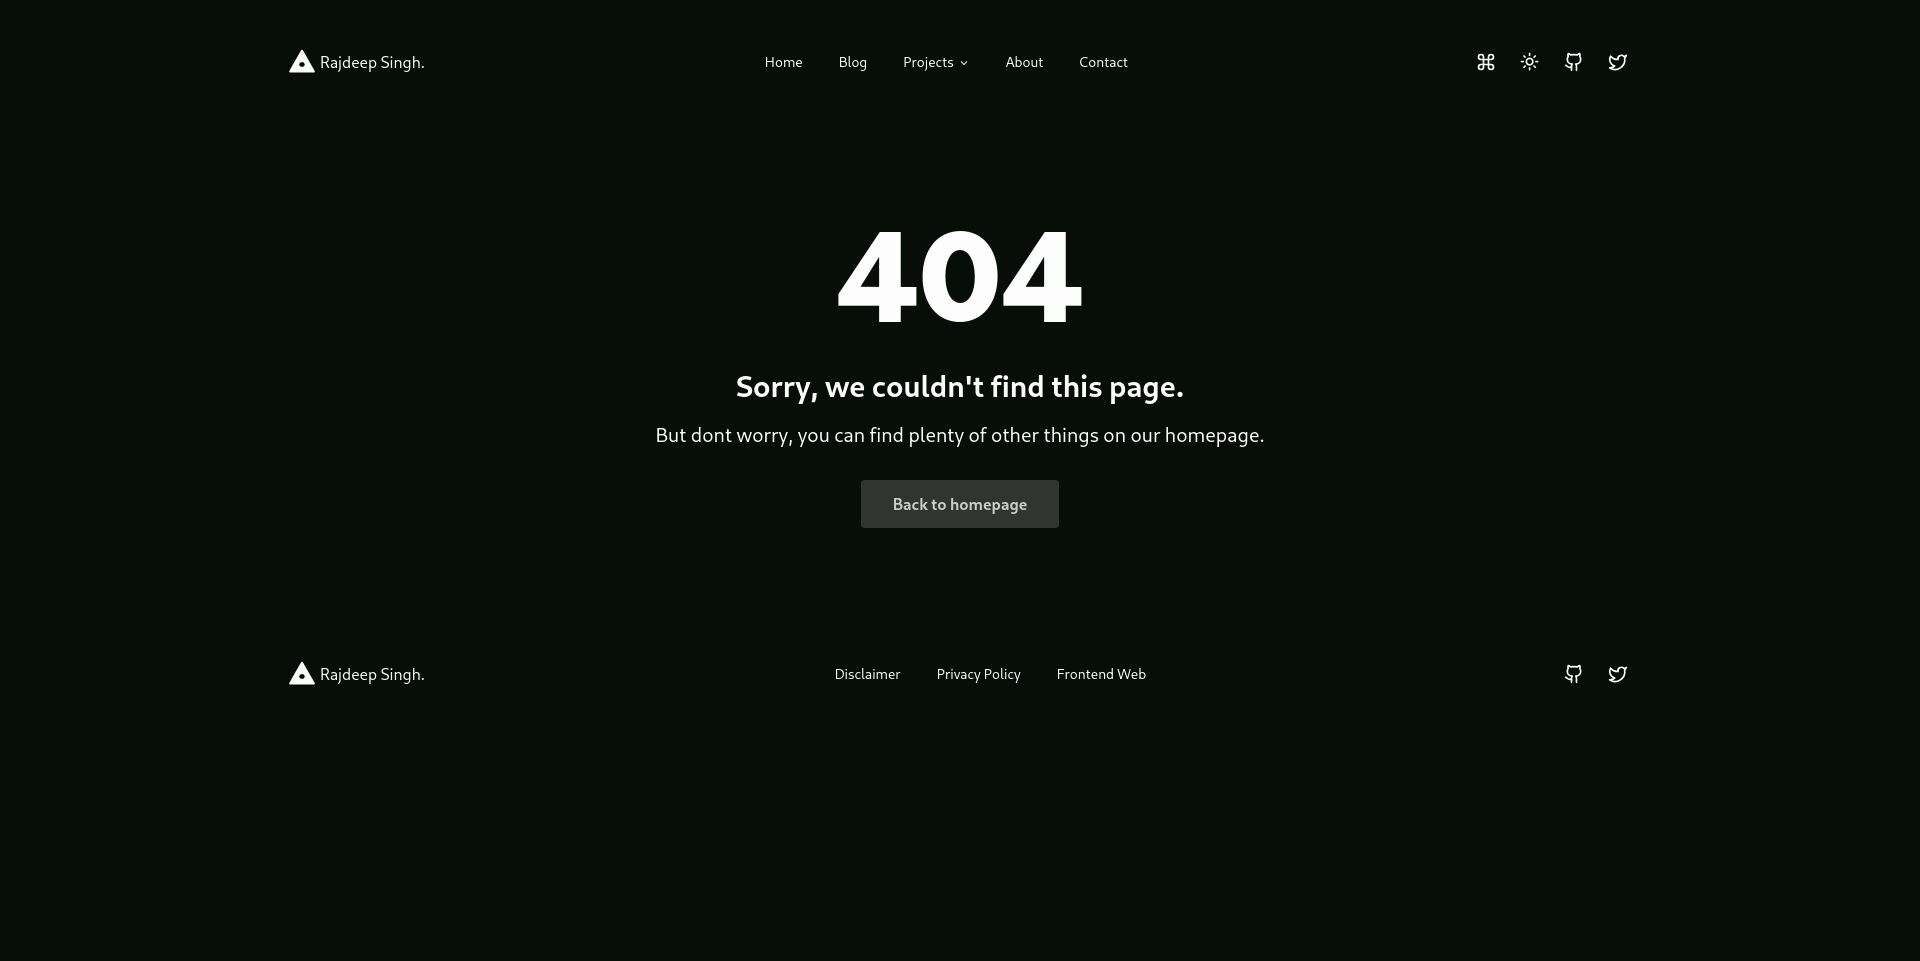
404 Layout
To create a 404 page in your blog with the following code.
---
type : 404
---
Your 404 page looks like this in the browser.
How to choose different themes?
Section blog theme based on shadcn UI, shadcn UI has the functionality to use a different theme. There are tons of themes available on the internet, you can use any of them.
The ui.jln.dev website offers you more than 10000 custom Shadcn UI. You can select the theme and then paste your globals.css file without the @layer directive.
/*  Custom Shadcn UI theme by https://ui.jln.dev */
:root {
  --background: 133 69% 99%;
  --foreground: 133 63% 5%;
  --card: 133 69% 99%;
  --card-foreground: 133 63% 5%;
  --popover: 133 69% 99%;
  --popover-foreground: 133 63% 5%;
  --primary: 133 4% 89%;
  --primary-foreground: 133 4% 29%;
  --secondary: 133 8% 85%;
  --secondary-foreground: 133 8% 25%;
  --accent: 133 17% 77%;
  --accent-foreground: 133 17% 17%;
  --destructive: 4 92% 26%;
  --destructive-foreground: 4 92% 86%;
  --muted: 133 26% 95%;
  --muted-foreground: 133 11% 34%;
  --border: 220 13% 91%;
  --input: 220 13% 91%;
  --ring: 133 4% 89%;
  --radius: 0.5rem;
}

.dark {
  --background: 133 36% 4%;
  --foreground: 133 20% 99%;
  --card: 133 36% 4%;
  --card-foreground: 133 20% 99%;
  --popover: 133 36% 4%;
  --popover-foreground: 133 20% 99%;
  --primary: 133 4% 89%;
  --primary-foreground: 133 4% 29%;
  --secondary: 133 3% 20%;
  --secondary-foreground: 133 3% 80%;
  --accent: 133 11% 29%;
  --accent-foreground: 133 11% 89%;
  --destructive: 4 92% 59%;
  --destructive-foreground: 0 0% 100%;
  --muted: 133 26% 5%;
  --muted-foreground: 133 11% 66%;
  --border: 215 27.9% 16.9%;
  --input: 215 27.9% 16.9%;
  --ring: 133 4% 89%;
}
There are lots of other configurations available by the section blog theme. Check out the section blog theme documentation for more configuration. You can easily configure it by copying and pasting the code.
Conclusion
The section blog theme comes with an easy or copy-paste configuration. You create your blog/portfolio in less than five minutes with a section blog theme.
After selecting the nextra and section blog theme for your blog, you focus on writing the rest of the stuff, like the toggle theme (dark to light mode), search functionality, and SEO managed by the section blog theme.